

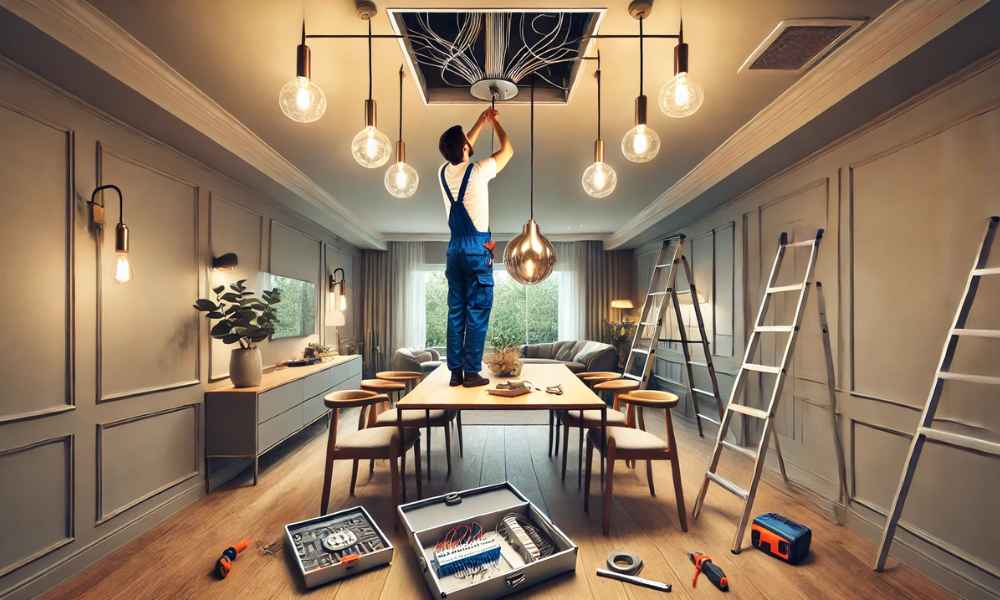
Install A Dining Room Light Fixture may sound intimidating, especially if you’ve never ventured into the realm of home electrical work. But with the right steps, even a beginner can take charge of their lighting and completely change the ambiance of a room. Beyond just improving visibility, a well-placed light fixture becomes a design statement—casting warm glows over dinner conversations and elevating the entire aesthetic of your dining area. This guide walks you through the entire process with clarity and encouragement, showing that it’s a manageable, even rewarding, project.
Getting Started: What to Know Before You Begin Your Lighting Project
Before you grab a screwdriver or start climbing ladders, take a moment to visualise your end goal. Ask yourself: Is the new fixture purely decorative, or does it need to enhance visibility for dining and entertaining? Does your dining room have central wiring in place, or will you need to work around structural or electrical limitations? Mapping out your plan early ensures fewer hiccups and more satisfaction when the light finally flickers on.
Tools and Materials You’ll Need for the Job
Preparation is half the battle. To install a dining room light fixture, arm yourself with these essentials:
- Screwdriver set (Phillips and flathead)
- Wire strippers
- Voltage tester
- Electrical tape
- Wire nuts
- A sturdy ladder
- Safety goggles
- Your chosen light fixture and bulbs
Having everything ready before you start reduces interruptions and makes the process smoother. Opt for quality tools—you’ll thank yourself later.
Turn Off the Power—Your First and Most Important Step
Safety isn’t negotiable. Head to your circuit breaker panel and switch off power to the dining room. Use a voltage tester at the ceiling wires to confirm there’s no electricity flowing. This is your protective barrier between a simple DIY project and a dangerous misstep. Never rely on a wall switch alone to cut power.
Remove the Old Fixture Without a Fuss
Gently remove the existing fixture by unscrewing its mounting bracket. Carefully lower the fixture while holding it steady, exposing the wiring within. Use wire cutters to disconnect the old wires, and remember their arrangement—it may come in handy. If the fixture is heavy, don’t hesitate to ask for an extra pair of hands.
Inspecting the Electrical Box: Is It Fixture-Ready?
Not all electrical boxes are created equal. Check that the ceiling box is firmly secured and rated to support the weight of your new fixture. If you’re installing a chandelier or a heavier design, you might need to replace the box with one rated for heavier loads. The box should be snug, unmoving, and properly braced between ceiling joists.
Assembling Your New Dining Room Light Fixture
Unpack your new fixture and lay out all components. Follow the manufacturer’s instructions meticulously. This may include attaching decorative arms, placing shades, or inserting bulbs. Pre-assembly is critical—it helps avoid juggling parts overhead. Double-check that all screws are tightened and delicate components are secure before proceeding.
Wiring Your New Fixture Like a Pro (Even If You’re a Beginner)
This step is where things start to feel technical, but it’s straightforward with care. Match black wires to black (live), white to white (neutral), and green or bare copper to ground. Use wire nuts to join them securely, and wrap the connections with electrical tape for added safety. Tug each connection lightly to confirm a firm hold.
Mounting the Light Fixture to the Ceiling Securely
Attach the mounting bracket to the electrical box. Carefully lift the fixture and align it with the bracket. Some fixtures will have a central screw or locking ring to fasten them; others might use side clips or decorative bolts. The goal is simple: the fixture should be stable, centered, and flush with the ceiling.
Adjusting Height and Position for a Polished Look
Style matters. For optimal aesthetics, hang your light fixture about 30–36 inches above the dining table. This height creates intimacy while allowing clear visibility. Ensure the fixture is centred over the table—not just the room—especially if the table isn’t in the exact middle of the space.
Securing Everything in Place and Double-Checking Your Work
Tighten all screws and confirm that wires are tucked neatly into the box. Give the fixture a gentle shake to test its stability. If anything feels loose, disassemble and recheck the connections. A solid install is not just about looks—it’s about long-term safety.
Switching the Power Back On and Testing the Fixture
Head back to your circuit breaker and restore power. Then, with anticipation, flip the light switch. If everything is working, the fixture should come to life. If not, double-check wiring connections and make sure the bulbs are securely in place.
Adding the Finishing Touches: Bulbs, Covers, and Style Upgrades
Choose light bulbs that match both the fixture‘s specifications and your desired mood—warm white for cosy dinners or cool white for a more modern feel. Install any decorative covers or shades gently to avoid damage. Consider installing a dimmer switch to give yourself full control over ambiance.
Common Mistakes to Avoid When Installing a Dining Room Light Fixture
Even experienced DIYers can make errors. Watch out for:
- Forgetting to turn off power at the breaker
- Using the wrong type of electrical box
- Over-tightening screws and damaging components
- Mismatched or poorly connected wires
Avoiding these pitfalls can save you time, money, and future headaches.
Bonus Tips for Style and Function in Your Dining Room Lighting
Consider layering your lighting by adding wall sconces or floor lamps nearby. Reflective surfaces like mirrors can amplify your new light’s glow. Want tech-savvy convenience? Install a smart bulb and control brightness and colour with your phone.
Maintenance Tips to Keep Your Fixture Looking and Working Great
Dust your fixture weekly with a microfiber cloth. For deeper cleans, turn off the power and wipe down components with a damp cloth. Check screws and connections annually to ensure the fixture remains secure. Replace bulbs as needed and avoid exceeding the maximum wattage.
Conclusion
Installing a dining room light fixture is more than a home improvement chore—it’s a transformative act. With a touch of effort and a sprinkle of care, you can brighten your space, elevate your dining experience, and gain the satisfaction of a job well done. Let your new fixture shine as a symbol of style, skill, and your willingness to illuminate your home one project at a time.