

I once left my favorite wooden cutting board on the counter a bit too long. When I came back, I found black spots on the surface. The musty smell hit me right away. Mold. I was surprised and frustrated. But I quickly realized this is a common problem, and it’s not hard to fix. Mould on wooden cutting boards happens to even the best-maintained boards. With a few simple steps, you can get rid of it and keep your board looking great. I’ll share the easiest way to remove mold from a wood cutting board and tips to prevent it in the future.
What Is Mold and Why Does It Grow on Wood Cutting Boards?
Mold is a type of fungus. It thrives in moist, hot climates. It is widespread in kitchens, particularly on wooden cutting boards. The wood is moist and can be a prime place for mold to grow.
Mold loves moisture, and wooden cutting boards are really good at hanging on to it. Boards often remain wet for too long after a cleaning or after cutting juicy foods. That is the ideal situation for mold. And well-cared-for boards can become moldy if they are left in a damp area or stored improperly..
01. Inspect the Cutting Board
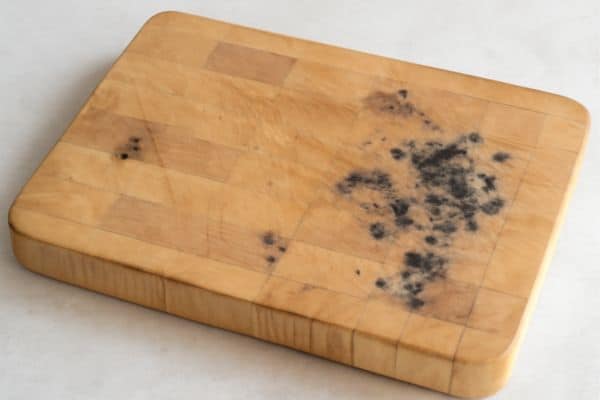
Begin by inspecting your cutting board. If you notice mold on the surface, it could be absorbing moisture from below. Look for black spots or discolouration. Determine how deep the mold goes—if it’s just on the surface, you can usually wipe it clean. However, if it has penetrated the wood, more attention will be needed.
For a Best Cutting Board for Brisket, choosing a board with a dense, non-porous surface can prevent mold growth. Clean and dry your board properly after each use to keep it in top condition.
02. Clean the Board Thoroughly
Then give your board a good scrub with warm water and mild dish soap. This will assist in getting any kind of trash or dirt through. A soft brush or sponge can also be used as a mild abrasive. Don’t go at it scrubbing too ferociously or you’ll damage the wood.
03. Apply a Mould Removal Solution

Deal with the mould by using an all-natural substance such as white vinegar or hydrogen peroxide. Combine equal parts vinegar or hydrogen peroxide with water. Spray directly onto the mould spots. Allow it to sit for a few minutes to reduce.
04. Scrub Away the Mold
Next, wipe off spots on the item itself with a cloth or a soft-bristled brush. Scrub affected areas with vinegar or hydrogen peroxide solution until clean. Be easy as not to scratch or harm the wood.It can be tenacious, but be patient.
05. Rinse and Dry Thoroughly
Rinse thoroughly with fresh water to ensure final cleaning solution is washed away after scrubbing. Pat it dry right away with a dry, clean towel. Allow the board to air dry completely before putting it away. Good drying will also help you avoid mold growth down the road.
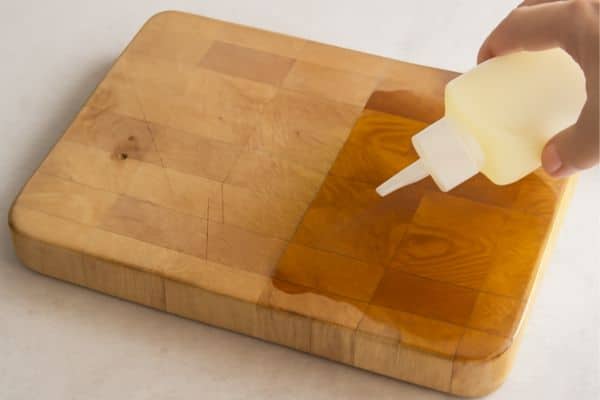
06. Condition the Board
Then, rehydrate it with food-safe mineral oil or beeswax. This step will help protect the board and prevent it from drying out. Regular conditioning also guarantees the mold never returns by sealing the wood and maintaining it in like-new condition.
Practical Tips for Preventing Mould on Wooden
Keep Your Board Dry
Mold is moisture’s best friend. Or if your board remains wet for a bit too long, then mold will probably make an appearance. Always dry your board thoroughly with a clean towel after each use. Then let it dry in air to eliminate the buried moisture. 2) Mold: A drier cutting board is not as prone to mould.
Store in a Dry Place
Your cutting board’s home makes a difference. Always store it dry, in a well-ventilated location. Don’t store it leaning against a wall or in a wet location, such as by the sink or the window. Good airflow in your space will hinder moisture from accumulating, which in turn will prevent from taking root.
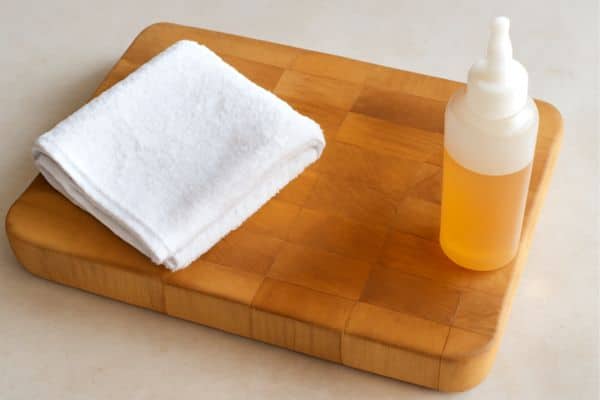
Regular Oil Treatment
It’s a great feature—it shows your board has some character and a lifetime of chopping, so long as it’s properly maintained. Oil also seals the wood, which will prevent it from absorbing water. It also helps keep the board looking good and makes it less likely for you to get. An occasional fast oil treatment goes a long way for the life of your board.
What to Do If You See Black Spots on a Wooden
The black spots on a wooden cutting board are typically mold. At times, they may be food stains, for example juices or spices. Mold comes in a wide variety of colors which may be discolored blotching or black spots. Food stains may appear the same but they’re easier to clean.
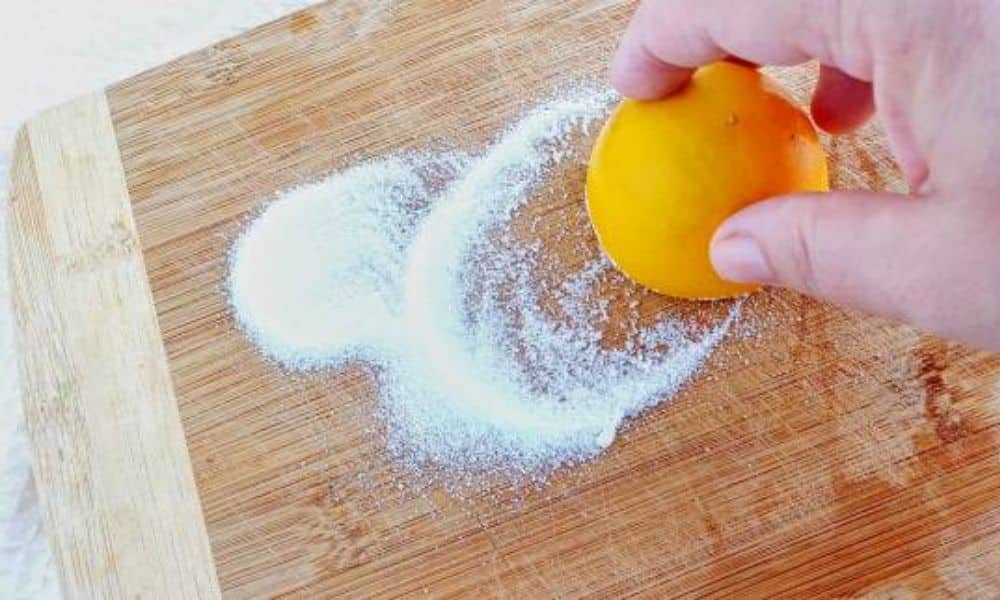
How to Remove Black Spots
To remove black spots, combine equal parts white vinegar and water. Soak or dampen a soft cloth or sponge in the solution. Gently scrub the spots. That will take out most mold or stains.”
You may want to make a paste of baking soda for stubborn areas. Gently apply it on the black spots. If they don’t budge, gently sand the problem areas with fine-grit sandpaper.
Treating Deeper Stains
For particularly deep stains sanding might be your best bet. Smear the spot lightly with fine-grit sandpaper. After sanding (or not), clean, dry, and condition it with mineral oil. This will bring the board back and will also protect it.
When to Replace Your Wood Cutting Board
Clues You Need a New Board
If mold or stains have penetrated the wood, a wooden may not be able to be resurrected. The board can also no longer be safely used if it has developed cracks or warped. These issues can result in dirtiness and weakness, so get a new one.
How to pull off and dispose of a cutting board
Recycling the wood is just one way to ethically dispose of old Wood kitchenware is accepted at some centres. And the board can be reused for your DIY projects. Through this, the board can be reused and not be another addition to waste for the landfill.
Final Thoughts
A mouldy wooden board is easier to clean than you might believe. The good news is that with just some easy cleaning and steps taken to reduce moisture, you can scrub the keep it away for good with no additional rubber or products. Regular maintenance will help maintain its good looks and function for years.
.