

I still remember the day I learned my mistake. I had just finished slicing chicken on my favorite wooden cutting board. It was smooth, well-loved, and smelled like the past—onions, garlic, and something raw. I gave it a quick rinse. But something smelled off. That was the moment I knew my board was holding more than food memories. It needed real cleaning. Not just a rinse. That little scare pushed me to learn How to clean kitchen cutting board the right way. What I found changed my kitchen habits for good. Now, I’m sharing those lessons with you.
Why You Need to Clean Your Cutting Board the Right Way
Cutting boards touch everything—vegetables, fruits, raw meats, cheeses. And with each chop and slice, bits of food and juice sneak into knife grooves and pores. If you’re not cleaning them properly, you could be serving up a side of salmonella with your salad. Yikes.
Different types of boards need different care. Wooden boards are lovely but porous. Plastic is easier to sanitize but scratches more. And bamboo? It’s somewhere in the middle.
So whether you’re prepping for dinner or wrapping up a weekend brunch, cleaning well isn’t just about hygiene—it’s about preserving a tool that matters. And if you’re slicing something special, like brisket, having the best cutting board for brisket makes all the difference.
Step-by-Step Guide
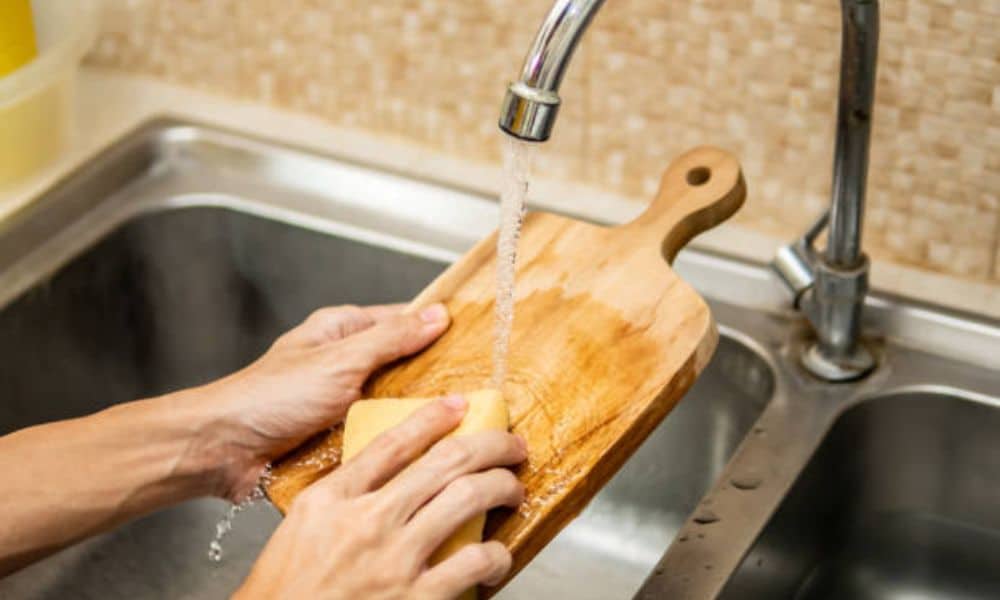
01. Immediately Rinse After Use

Why it matters: The longer food sits, the deeper it sinks into the surface.
As soon as you’re done using—especially if it’s seen raw meat, fish, or eggs—take it to the sink and rinse off any debris. Use warm water to loosen up sticky bits. Don’t soak it, especially if it’s wood. Wood swells and warps when left in water.
My trick: I keep a little bench scraper nearby and gently scrape off bits of food before rinsing. It’s quick and oddly satisfying.
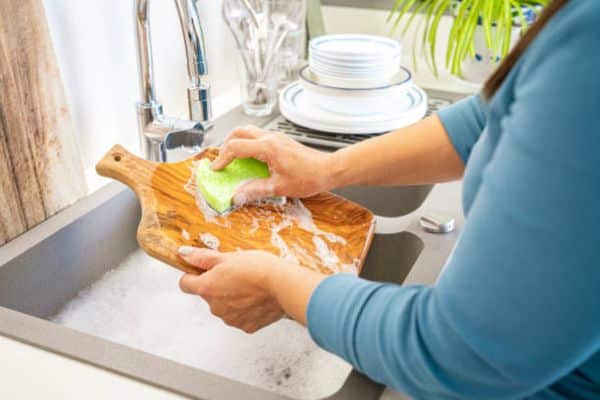
02. Wash with Soap and a Scrub Brush
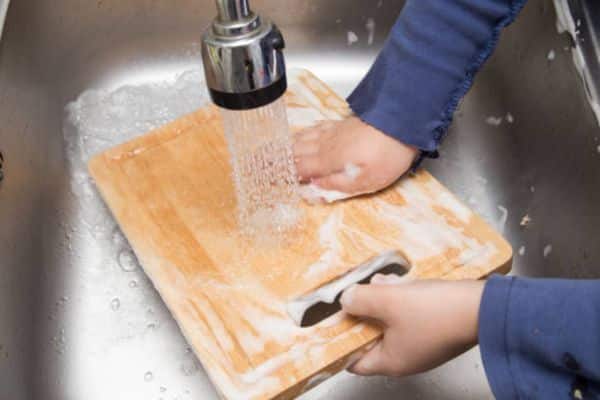
Tools needed: Dish soap, a sponge or scrub brush (not steel wool!)
Squeeze a bit of mild dish soap onto the board and scrub thoroughly. Focus on any knife grooves. For plastic, go ahead and get rougher with the brush. For wood, stay gentle—you don’t want to damage the grain.
Personal habit: I always use a separate sponge just for my cutting boards. That way, I’m not transferring other kitchen grease onto the surface.
03. Disinfect (Especially After Raw Meat)
Here’s where it gets serious.
For plastic boards: You can soak them in a mixture of 1 tablespoon of bleach to 1 gallon of water for a couple minutes. Then rinse well.
For wooden boards: Skip the bleach. Instead, try white vinegar or hydrogen peroxide. Just pour a bit over the surface and let it sit for a few minutes, then rinse.
Bonus tip: After handling chicken, I always go over with a 3% hydrogen peroxide soak. Just a splash will do. Let it bubble for a minute—then rinse and dry.
04. Deep Clean with Salt and Lemon (for Wooden Boards)
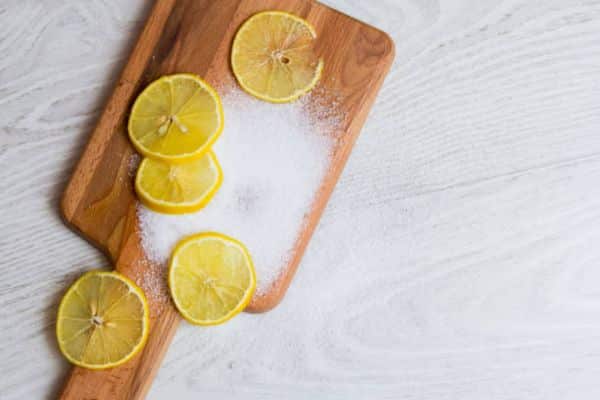
This one feels like a little kitchen spa day.
Take a halved lemon, sprinkle coarse salt over the board, and scrub the lemon (cut side down) in circular motions. The salt lifts stains and smells; the lemon deodorises and refreshes.
Why I love it: It makes the whole kitchen smell fresh and looks brand new afterwards. I do this once a week, usually Sunday evening, before my meal prep begins.
05. Rinse and Dry Immediately
This is the part people skip—and it’s a mistake.
After washing or disinfecting, rinse thoroughly with clean water, then wipe the board with a clean towel. Stand it upright or lean it on a rack so air circulates it. Never leave it lying flat. Moisture trapped underneath is a recipe for mould.
Little habit: I keep a dish rack slot just. It lives there until bone dry.
06. Condition Wooden Boards Monthly
Wooden boards dry out, crack, and split over time unless you feed them.
Once a month (or more if it’s winter), rub food-grade mineral oil all over the surface using a clean cloth or paper towel. Let it soak overnight and wipe off any excess in the morning.
Optional: Use a board butter (a mix of beeswax and mineral oil) for extra shine and water resistance.
My routine: The last Sunday of the month is “board oiling day.” I do it while watching a show, and it’s become a little tradition.
Bonus: How to Clean Cutting Board Stains and Odors
Even with good habits, boards can start to look and smell a little funky. Here’s how I deal with that:
- For garlic/onion smell: Rub with baking soda and rinse with vinegar.
- For turmeric stains: Sunlight helps! I leave the by a sunny window for a few hours.
- For red beet juice: Salt and lemon again—always my go-to stain buster.
Practical Tips for Perfect Cutting Board Care
Let me leave you with a few more tips I’ve learned over the years—some the hard way.
Don’t Use One Board for Everything
I have three main boards:
- One for raw meat,
- One for fruits and veggies,
- One for bread and dry stuff.
Colour-coded plastic ones work well for this. It helps reduce cross-contamination—and gives each board a longer life.
Never Put a Wooden Board in the Dishwasher
Even if it says “dishwasher safe,” just don’t. The heat, detergent, and water will warp and crack it. Hand-washing takes a minute and saves.
Rotate Your Boards
Every few months, I rotate which boards I use most. It gives them all time to rest and keeps wear even. That beautiful wooden one? It’s not my everyday warrior—it’s my Sunday roast buddy.
Smell Test Is Real
Before using a board, I always do the smell test. A quick whiff lets me know if it needs a deeper clean. Don’t be shy—your nose knows.
Final Thoughts
Cleaning your cutting board isn’t just about staying safe—it’s about respecting the tool that helps you nourish your family.
Over the years, I’ve come to think Of my cutting boards like old friends. They’ve seen my best recipes, my messiest mistakes, And even a few teary chopping sessions. Taking care of them feels right. It’s a simple act of kitchen love.