

I used to toss pork fat without a second thought. Then I saw my grandma scoop creamy lard from a jar and fry eggs that smelled like home. That moment stuck. Years later, in my small kitchen, I learned how to render pork fat in a slow cooker. It was easy, clean, and surprisingly fun. The slow cooker did the hard work. I just chopped, waited, and strained. Now, I do it every few months and always keep a jar on hand. Want soft lard, crispy cracklings, and less waste? You’re in the right place. Let me show you how.
What Is Pork Fat and Why Should You Save It?
Pork fat is soft and white. It comes from under the skin or deep inside the belly. Butchers call it leaf fat or back fat. Leaf fat wraps around the kidneys. It’s clean and mild. Back fat is thicker and stronger in taste.
Both types are gold in the kitchen. Leaf fat makes flaky pie crusts. Back is great for frying. You get rich taste without smoke or burn.
Most people toss pork. But saving it means less waste and more flavor. You turn scraps into creamy lard. It’s natural, cheap, and long-lasting.
Using a slow cooker makes the job easy. No smoke. No standing by the stove. Just a low setting and time. The result? Soft, clean lard that stores well and cooks even better.
Why Use a Slow Cooker for Rendering Fat?
ow cookers make rendering pork fat simple. On the stove, fat can burn fast. In the oven, heat is hard to control. But a slow cooker melts gently. No smoke. No mess. Just clean, quiet cooking.
It holds a steady low heat for hours. That’s what makes it perfect. You don’t need to watch it. You just add, set it, and let it melt.
This method is great for beginners. You don’t need skill—just time and patience. Even in a small kitchen, it works like a charm.
For small batches, choose a compact model. The best slow cookers for one person are 1.5 to 2 quarts. They’re easy to clean, fit in tight spaces, and handle like a pro.
What You’ll Need to Get Started
You don’t need much to get started. Just a few simple tools and a bit of space.
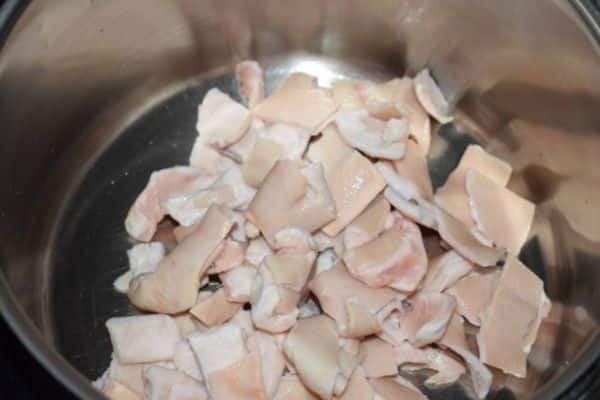
First, grab some raw pork fat. Leaf is best for baking. Back is great for frying. Both work well in the slow cooker.
Use a sharp knife to cut the fat into small pieces. Clean cuts help it melt faster and more evenly.
Next, you’ll need a slow cooker. A small one is perfect. The best slow cookers for one person—around 1.5 to 2 quarts—handle small batches with ease.
To strain the lard, use cheesecloth or a fine mesh strainer. This keeps the lard smooth and clean.
Last, grab a few storage containers. Glass jars work best. Let the lard cool before sealing.
Step-by-Step Guide
Here’s how I do it—slow, simple, and stress-free. Follow these steps and you’ll have smooth, golden lard in no time.
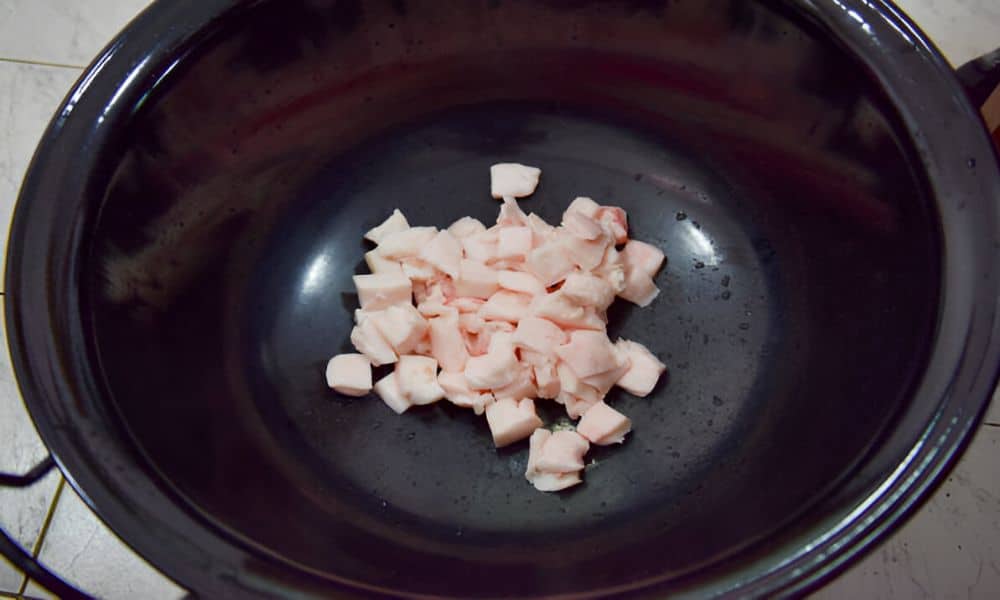
01. Trim and Cut the Fat
Use a sharp knife. Cut the into small cubes—about half an inch. Remove any bits of meat. Clean fat melts better and smells fresher.
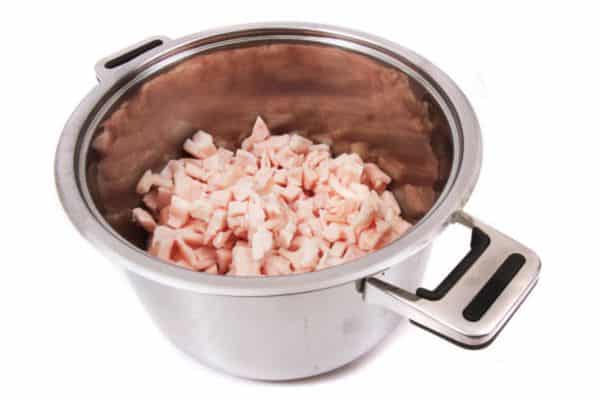
02. Load the Slow Cooker
Place the fat into the cooker. Fill it about two-thirds full. Don’t add water. The fat will melt on its own.
03. Set to Low and Leave the Lid Off
Turn the slow cooker to low. Leave the lid off to let steam escape. This helps the lard stay light and clean.
04. Stir Every Hour
Use a wooden spoon to stir. Do this gently, once every hour. This keeps it from sticking or browning too fast.
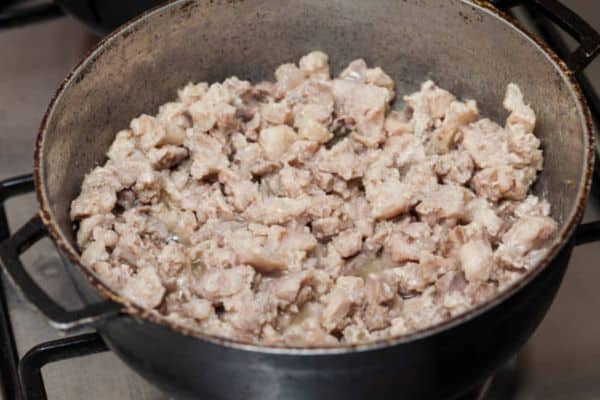
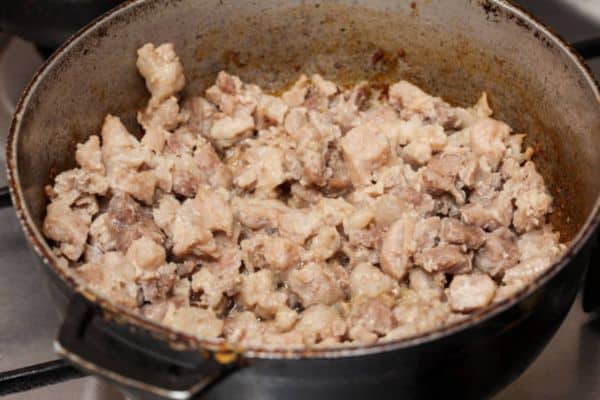
05. Watch for Cracklings
After 4 to 6 hours, the fat will turn to liquid. The solid bits will look golden and crisp. That means you’re done.
06. Strain and Store
Line a bowl with cheesecloth or use a fine strainer. Pour the hot liquid in slowly. Then transfer it to clean jars. Let it cool before sealing.
This method is perfect for small kitchens. It needs little space and makes just the right amount for one or two people. The slow cooker keeps things simple—and the results speak for themselves.
Tips for Best Results (From My Kitchen to Yours)
After years of doing this, I’ve picked up a few tricks. These small tips make a big difference.
Keep the heat low. Slow and steady wins here. High heat can burn. It also makes the lard smell strong and smoky. Low heat keeps it mild and smooth.
Leaf fat gives a soft, clean lard. It’s perfect for baking. Back fat has more flavor. It’s best for frying, roasting, and savory dishes.
Stir gently. No need to rush or stir too hard. Cracklings should stay whole and golden—not broken or mushy.
Use small jars. Store your lard in smaller amounts. That way, you only open what you need. Less air means it stays fresh longer.
What to Do With the Cracklings (Don’t Toss Them!)
Cracklings are the crispy bits left after the fat melts. They’re rich, golden, and full of flavor. Don’t throw them out—they’re too good for the trash.
I like to eat them warm with a pinch of salt. They’re crunchy, salty, and deeply satisfying. Think of them as pork popcorn.
You can also toss them on a salad for extra crunch. Or stir them into warm cornbread. They give a smoky edge that’s hard to beat.
Some folks add them to fried rice or scrambled eggs. They bring bold flavor with no extra work.
Storage and Shelf Life: How Long Does Homemade Lard Last?
Once it cools, keep it in a clean glass jar with a tight lid. In the fridge, it stays fresh for up to 6 months. For longer storage, pop it in the freezer. It’ll keep well for up to a year with no problem.
You can leave it in the pantry for short periods, but only if the room stays cool and dark. Warm temps will shorten its shelf life.
Always use a clean spoon to scoop. No crumbs. No water. Even a small bit of food can spoil the whole jar.
Follow these steps and your lard will stay smooth, fresh, and ready to use—every time.
FAQs
Can I mix fat types?
Yes, you can. I often mix leaf fat with back. Just know the flavor might be a little stronger. It still melts fine and works well for cooking.
Does it smell up the house?
Not at all—if you use low heat. The scent is mild and cozy, like warm pork. No heavy smoke or grease smell. Just a clean kitchen and a slow bubble.
How long does it take?
About 4 to 6 hours on low. Some batches take longer, depending on the size and amount. You’ll know it’s done when the cracklings float and turn golden.
Final Thoughts
Rendering pork fat used to feel old-fashioned to me. Now, it feels smart, simple, and deeply satisfying. Learning how to render gave me more than just a jar of lard—it gave me a skill I use all the time.
It’s calm, easy work that fits into any kitchen. You don’t need much space, time, or gear. Just a small slow cooker, some scraps, and a little patience.
Whether you live alone or just love doing things the homemade way, give it a try. The results are rich, clean, and full of flavor.