

Ever pulled out your sandwich toaster only to find burnt cheese clinging to the plates like stubborn glue? I’ve been there, and trust me, it’s not the kind of surprise you want before making a quick snack. Learning how to clean a sandwich toaster the right way not only keeps your toasties tasting fresh but also saves your appliance from an early retirement. Over the years, I’ve tested simple methods and personal hacks that make the process quick, safe, and stress-free. In this guide, I’ll share those tips along with practical advice on how to clean a toastie maker and even tackle tricky stains in your sandwich maker—so you can enjoy perfect, mess-free sandwiches every time. Let’s dive in and make cleaning as easy as eating your favorite grilled cheese.
Why Cleaning Your Sandwich Toaster Is Important
Cleaning your sandwich toaster keeps your food safe and tasty. It stops burnt smells and old cheese from sticking to new sandwiches. No one wants a bite of toast that tastes like last week’s lunch.
A clean toaster also lasts longer and works better. It heats evenly and doesn’t struggle with stuck crumbs or greasy plates. That means your toasties come out just right every time.
Dirty plates can grow germs. Melted cheese and oil can rot if left too long. A quick wipe after each use helps stop bacteria from building up.
I learned this the hard way. One night, I made a toastie in a rush. The outside looked fine—but it tasted bad. I checked and found old, burnt crumbs stuck deep in the corner. Since then, I always clean it before storing.
What You’ll Need Before You Start
Before you clean your sandwich toaster, make sure you have the right tools. You don’t need anything fancy—just a few things from your kitchen.
Here’s what I use every time:
- A soft cloth or sponge
- Mild dish soap
- A toothbrush (an old one works fine)
- Baking soda
- Vinegar (optional, but helpful for stains)
Most important rule? Always unplug the toaster first. Let it cool fully before touching the plates. Even if it looks clean, a warm toaster can burn your hand or cause a short.
Quick tip: I keep a small cleaning kit in a drawer near my toaster. That way, I never have to go searching when it’s time to wipe it down.
Step-by-Step Guide: How to Clean a Sandwich Toaster
Step 1 – Unplug and Cool Down Safely
Always unplug your sandwich toaster before cleaning. Let it cool all the way. This keeps you safe and avoids damage to the toaster. Never clean while it’s still hot.
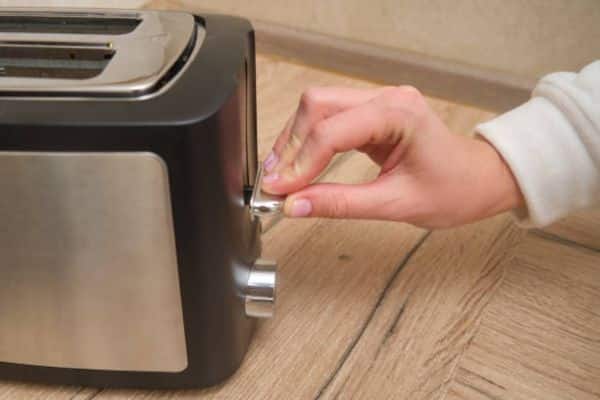
Step 2 – Remove Excess Crumbs and Food Bits
Use a soft brush or a damp paper towel to wipe away loose crumbs. I often turn the toaster upside down (gently!) to shake out any stuck bits. It’s a simple trick, but it works every time.
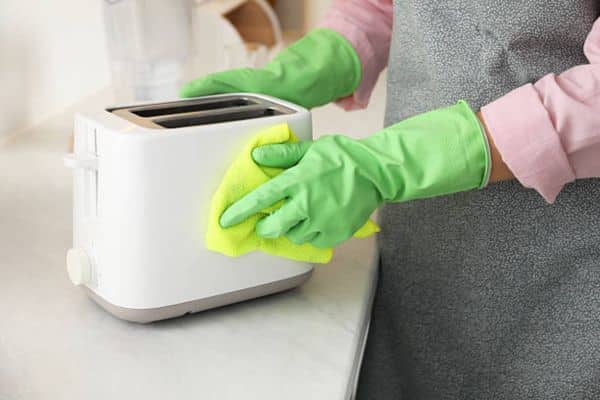
Step 3 – Wipe Plates Without Damaging the Non-Stick Surface
Use a damp cloth with a bit of mild soap. Wipe slowly and avoid scrubbing hard. Do not use anything rough like steel wool—it can scratch the plates.
Step 4 – Handle Stubborn Burnt Cheese and Grease
Got sticky cheese or old grease? Mix a little baking soda with water to make a paste. Spread it on the spot, let it sit for a few minutes, then wipe.
Here’s my favourite trick: I press a warm, damp cloth on the sticky area, let it sit, then gently wipe it off. Works like magic!
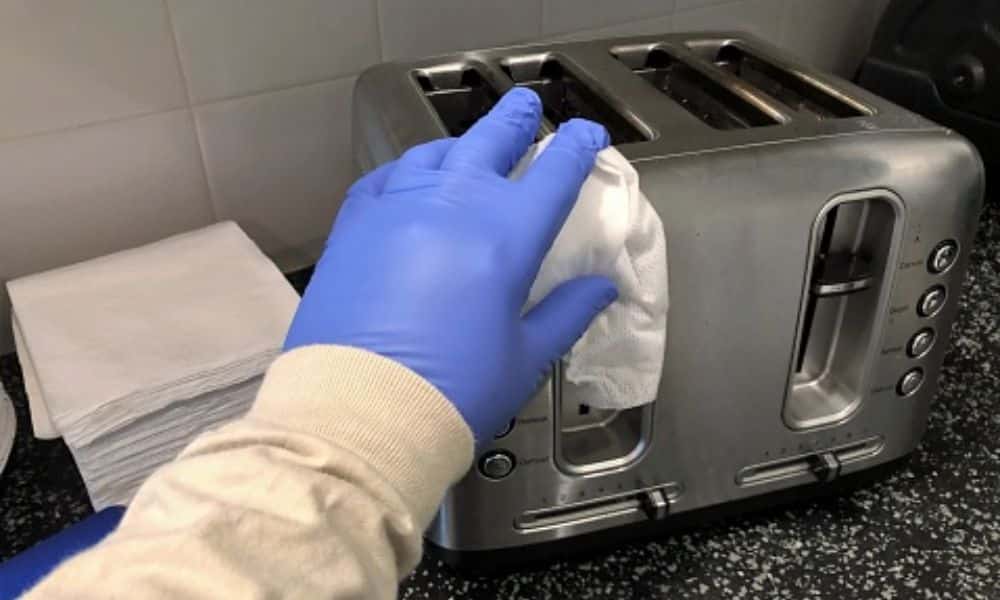
Step 5 – Clean the Exterior of the Sandwich Maker
Wipe the outside with a soft cloth and mild soap. Pay extra attention to handles, buttons, and hinges. I once found old grease hiding under the handle—yuck!
Step 6 – Dry Thoroughly Before Storing
After cleaning, dry everything well with a soft towel. Leave the lid open for a while to let any hidden moisture dry out. This helps prevent rust and mold.
Special Cleaning Scenarios
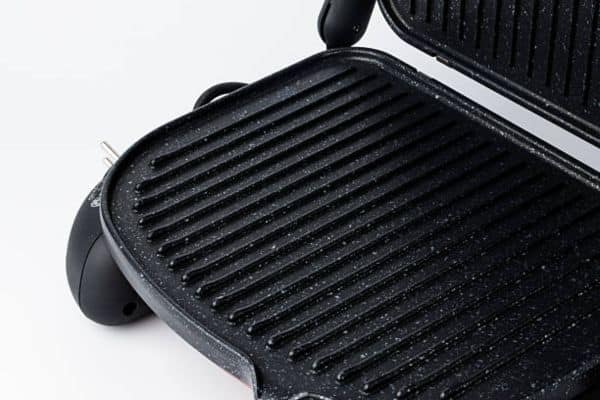
How to Clean a Toastie Maker with Removable Plates
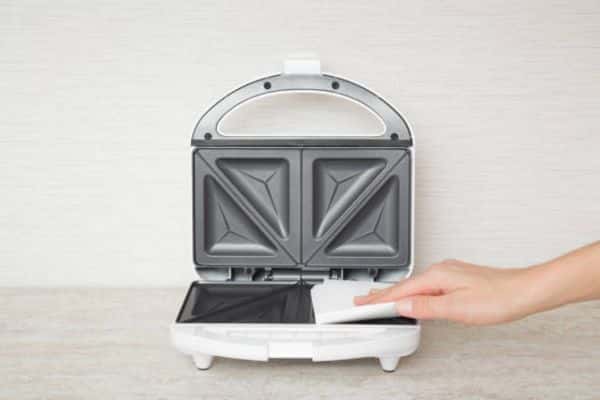
If your toastie maker has removable plates, cleaning is super easy. Just take the plates out and wash them with warm, soapy water. Rinse well and let them air-dry fully before putting them back.
How to Clean a Sandwich Maker Without Removable Plates
If your sandwich maker doesn’t have removable plates, you’ll need to be extra careful. Don’t let water drip inside the machine. Use a damp cloth to wipe the plates gently, and avoid soaking anything. For tight spots, I use a cotton swab or an old toothbrush to reach the corners.
How to Remove Burnt-On Cheese or Oil Residue
Sticky mess that won’t budge? Mix baking soda and water to make a paste. Dab it on the burnt spots, wait a few minutes, then wipe with a soft cloth.
Here’s my personal trick: I soak a cloth in hot vinegar, place it over the mess, and let the steam loosen the gunk. After a few minutes, the cheese peels right off. Works like a charm—especially on stubborn grease!
Pro Tips to Keep Your Sandwich Toaster Cleaner for Longer
Want to spend less time scrubbing and more time enjoying melty, golden toasties? These simple habits can help your toaster stay cleaner for longer—and work better too.
Lightly spray oil before cooking
A quick spritz of oil on the plates keeps bread or cheese from sticking. It also makes cleanup way easier.
Wipe it down while it’s still warm (but unplugged!).
Once your toastie is out and the toaster is off, wait a minute or two. Then use a damp cloth to wipe the plates while they’re still warm. Melted cheese comes off faster before it hardens.
Use parchment paper or toaster bags.
Here’s my favorite trick: I often use reusable toastie bags—they catch all the mess. You still get that crispy finish, but your toaster stays spotless. If you don’t have bags, a small sheet of parchment paper works too (just make sure it’s trimmed to fit).
Common Mistakes to Avoid
Even a quick wipe can go wrong if you don’t follow a few basic rules. Here are the most common cleaning mistakes people make with sandwich toasters—and how to avoid them.
Never soak or immerse in water.
It may seem tempting to rinse the whole toaster—but don’t. Water can damage the wires and make it unsafe to use.
Don’t use sharp tools or rough scrubbers.
Scraping with a knife or steel pad might remove burnt bits, but it damages the non-stick surface. Once scratched, food will stick more and cleaning gets harder.
Never plug it in while it’s still wet.
After cleaning, dry every part fully before plugging it back in. Even small drops near the plug or buttons can cause trouble.
FAQs
Can I wash my toastie maker plates in the dishwasher?
Only if the plates are removable and marked as dishwasher-safe. Always check your toaster’s manual first. Otherwise, stick to hand-washing with warm soapy water.
How do you remove burnt cheese from a sandwich maker?
Let the toaster cool. Then apply baking soda paste or place a warm, damp cloth over the spot for a few minutes. Wipe gently until the cheese lifts off.
What’s the fastest way to clean a sandwich toaster?
Wipe it while it’s still warm (but unplugged). Most messes come off easier before they harden. Use a soft cloth with mild soap for quick cleanup.
How often should I clean my sandwich maker?
After every use. A simple wipe-down prevents build-up and makes deep cleaning easier later. If used daily, give it a deeper clean weekly.
Conclusion
Cleaning a sandwich toaster doesn’t have to be a chore. With the right steps, it’s quick, simple, and actually kind of satisfying.
Since I started wiping mine down after each use, my sandwiches taste fresher, and I haven’t had to deal with burnt cheese smells or sticky messes. A clean toaster really does make a better toastie—and it’s saved me from buying a new one more than once.