

I still remember the first time I wondered, Can You Bake Polymer Clay In A Toaster Oven—and spoiler alert, yes, you absolutely can! As someone who started crafting at the kitchen table with a handful of clay and big dreams, I quickly learned that I didn’t need a fancy setup to get beautiful results. In fact, my humble toaster oven turned out to be one of the best tools in my creative toolkit.
In this article, I’ll walk you through how to bake polymer clay in a toaster oven, how long it really takes, and what to look for when choosing the best toaster oven for polymer clay. I’ll also share the mistakes I made (and how I fixed them) so you don’t have to learn the hard way.
Why I Chose a Toaster Oven for Polymer Clay Projects
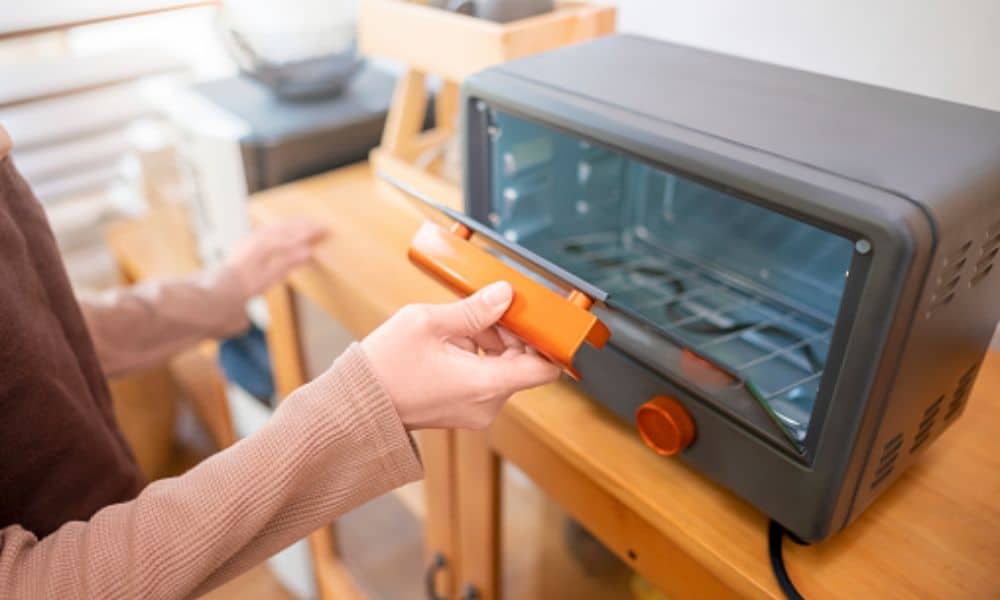
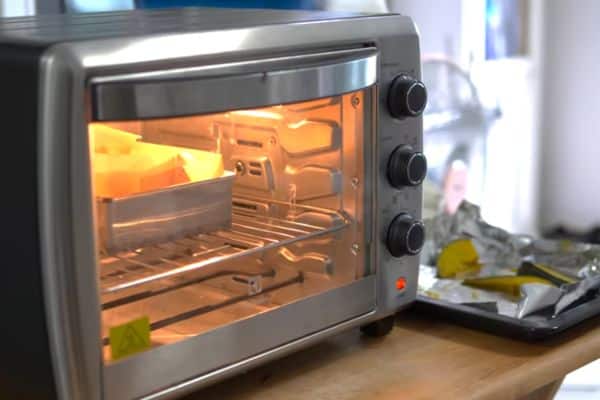
When I started with polymer clay, I used my kitchen oven. It worked—but not for long. The smell lingered, and my family wasn’t happy. That’s when I asked myself: Can you bake polymer clay in a toaster oven? Yes, you can—and it works really well.
I first tried it out of need. My kitchen oven was full, and I had a small batch to finish. I grabbed an old toaster oven from the shelf and gave it a shot. I didn’t expect much—but the result surprised me.
A toaster oven is great for small polymer clay projects. It heats up fast. It takes less space. And it gives you more control. After a few tests, I started using it for almost everything.
That said, I did make a few mistakes. Once, I forgot to preheat. My clay looked fine outside but stayed soft inside. Another time, I turned the heat too high. My clay charm turned brown! That’s when I learned: Always use a thermometer and double-check the dial.
So, why do I now choose a toaster oven? It’s easy. It’s quick. And it works. If you use it right, a toaster oven can bake polymer clay just as well as a big oven. It’s my go-to method for charms, beads, and even small figures
Is It Safe to Bake Polymer Clay in a Toaster Oven?
Yes, it’s safe to bake polymer clay in a toaster oven—but only if you follow a few key rules. I’ve done it for years, and once I learned how to do it right, I never looked back.
In the beginning, I didn’t think much about fumes or heat levels. But one day, I set the oven too high and smelled something strong. The clay darkened, and the room felt off. That’s when I knew I had to be more careful. Overheating polymer clay can cause strong fumes and burnt pieces.
Now, I always take a few steps to stay safe:
- Use a good oven thermometer. Toaster ovens often lie. What says 275°F might really be 320°F inside. I place my thermometer in the center and wait for it to settle before I bake.
- Keep the room well-ventilated. Open a window or turn on a fan. It helps move air around and keeps the space fresh.
- Don’t bake food and clay in the same oven. I have one toaster oven just for clay. Mixing the two isn’t a great idea—even if you clean it well.
- Avoid sudden temperature changes. Don’t blast it with heat. Let it warm up slowly and cool down naturally after baking.
So yes, baking polymer clay in a toaster oven is safe—as long as you watch the heat and use a thermometer. Once you build that habit, it becomes second nature.
How to Bake Polymer Clay in a Toaster Oven – Step-by-Step
Baking polymer clay in a toaster oven is easy when you follow a few simple steps. The key is keeping the heat steady and knowing your tools. Here’s exactly how I do it—every single time.
Step 1: Preheat the oven and check the temperature
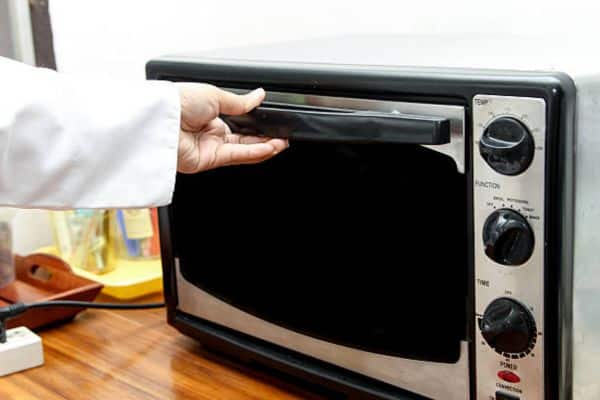
I always start by preheating my toaster oven to the clay brand’s recommended temperature—usually around 265°F to 275°F. But here’s the trick: toaster ovens often lie. That’s why I place an oven thermometer inside to check the real temperature. Always preheat your toaster oven and use a thermometer to get the right temperature for polymer clay. It makes a huge difference and saves your projects from burning or underbaking.
Step 2: Go through a quick pre-bake checklist
Before baking, I double-check a few things:
– Is the oven level and stable?
– Is the temperature steady (not jumping up and down)?
– Are my pieces placed on a tray that won’t burn?
These little checks take seconds but save hours of fixing mistakes. Use a reliable oven thermometer and check that the temperature stays consistent before baking polymer clay.
Step 3: Line your tray the smart way
Never place clay directly on the metal tray. I always use a ceramic tile or parchment paper. Some people also like index cards or cardstock. These help prevent shiny spots or burns on the bottom of your piece. Use parchment or a ceramic tile to line your tray—it protects the clay from direct heat.
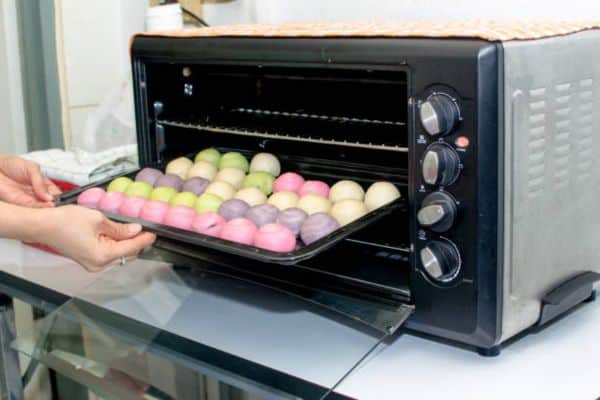
Step 4: Space out your pieces properly
Don’t overcrowd. I leave space between each piece so heat moves evenly. For anything thin or fragile, I tent the top with foil to avoid direct top heat. Leave space between items and tent with foil to protect delicate pieces from burning. This trick saved many of my miniatures!
Step 5: Watch your zones
Toaster ovens often have hot spots. That’s why I keep my tray in the center and never let pieces touch the walls or top. For longer bakes, I rotate the tray halfway through the baking process. Place the polymer clay in the centre of the toaster oven to avoid hot spots and ensure even baking. It really helps.
Step 6: Real-time example – baking a ½ inch charm
Here’s what I do for a ½ inch thick pendant using Premo clay. I set the oven to 275°F, place the charm on a tile-lined tray, and bake for 30 minutes. I check the color halfway through, then let it cool in the oven with the door slightly open. Bake a ½ inch polymer clay charm at 275°F for about 30 minutes, then cool slowly. This gives a strong and even cure.
How Long to Bake Polymer Clay in a Toaster Oven (With Chart)
Baking polymer clay in a toaster oven is all about timing, temperature, and thickness. The good news? Once you understand the basics, it’s simple to get right every time.
Most brands suggest baking at 265°F to 275°F for 15 to 30 minutes per 1/4 inch of thickness. So if your piece is half an inch thick, expect around 30 to 60 minutes total. I always check the package first—but I also trust my oven thermometer more than any printed label.
Here’s a helpful cheat sheet I keep on hand:
| Clay Brand | Temp (°F) | Time per 1/4 inch | My Notes |
| Sculpey III | 275°F | 15 mins | Soft finish, color stays true |
| Premo | 275°F | 30 mins | Firmer, ideal for jewelry making |
| Fimo | 265°F | 30 mins | Needs exact timing, no overbaking |
Several things affect how long to bake polymer clay in a toaster oven. The biggest one is thickness. Thin pieces need less time. Thicker ones need more. Your clay brand also matters—Premo is stronger and bakes longer, while Sculpey III is more delicate. Color plays a role too. Darker colors can darken or scorch if baked too long or too hot.
Now let me tell you what not to do. Early in my clay journey, I once popped in a few white beads without checking the oven temp. Big mistake. My toaster oven shot up to 300°F, and my beads browned like cookies. The smell? Terrible. And the clay? Ruined.
These days, I play it safe. If I’m unsure, I go low and slow. I’d rather bake for 10 extra minutes than rush and burn it. Baking longer at a lower temperature helps avoid burns and gives a stronger finish.
Common Mistakes When Baking Polymer Clay (and How I Fixed Them)
Let’s be real—my early bakes didn’t always go as planned. Like many crafters, I had to learn some lessons the hard (and sometimes melty) way. Here are the most common polymer clay baking mistakes I made—and how I fixed them for good.
Mistake #1: Uneven baking or scorching
This one got me more than once. My clay would look fine on one side and slightly browned on the other. Once, a bead even bubbled because it was too close to the oven’s top coil. I realized my toaster oven had hot spots.
Fix: I now bake everything on a ceramic tile in the center of the oven and tent the top with foil. It keeps the heat even and blocks direct exposure from the top coil. Tenting with foil prevents clay from burning in a toaster oven.
Mistake #2: Clay feels soft after baking
This used to confuse me. I’d pull my piece out, let it cool, and it still felt bendy. I thought it was underbaked. But turns out—polymer clay stays flexible when cured properly, especially thin pieces.
Fix: I now wait until the piece is completely cool before judging. If it’s still too soft, I rebake it for 10–15 minutes. Also, I make sure I’m not using expired or overly soft clay from the package. That matters, too.
Mistake #3: Cracking during baking or cooling
I once made a tiny dish, and it cracked clean in half. I was crushed. It happened because the inside was still uncured, and the outer layer cooled too fast.
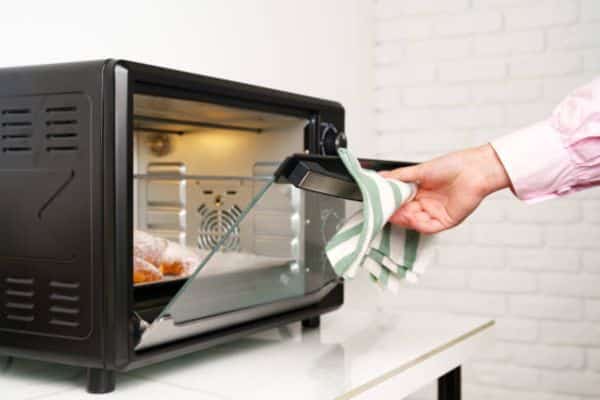
Fix: Now I bake large or thick pieces at a lower temp for longer. I also let them cool inside the oven with the door slightly open to avoid shock. For anything thicker than 1/2 inch, I even do a double bake just to be sure.
My go-to baking tricks (that saved me tons of frustration):
- Preheat with a thermometer every time
- Use a ceramic tile or cardstock to buffer heat
- Tent delicate pieces with foil
- Space items evenly on the tray
- Cool pieces inside the oven before touching
My Polymer Clay Baking Routine (Tools, Tips & Tricks)
Over time, I’ve created a baking routine that saves me time, avoids mistakes, and keeps my creations consistent. If you’re working with polymer clay weekly (or even daily), having a repeatable process is a game-changer.
I usually bake once or twice a week. I batch my projects so I’m not constantly turning the oven on and off. It saves energy and keeps the rhythm going. I let pieces cure together by theme or size—like all earrings one day, chunky charms another.
Before I bake anything big, I always test the clay. Some brands feel softer or drier, depending on how long they’ve been stored. I condition the clay well using my hands and a roller, then make a tiny test bead and bake it first.
Why do I swear by test beads? Because they’ve saved me from ruining hours of work! I make one tiny ball (about ¼ inch thick), mark it with a clay tool, and bake it on its own. This helps me check both the temperature and the curing result before committing the whole batch.
One golden rule I follow? My toaster oven is for clay only. No food, no snacks—just crafts. Even if you clean it, leftover particles or fumes from clay Can You Put A Paper Plate In A Toaster Oven? I store it in a covered spot with my baking tools and label everything “CLAY USE ONLY.”
FAQs
What temp should I bake polymer clay in a toaster oven?
Most polymer clay brands recommend baking at 265°F to 275°F, depending on the type of clay. Always use an oven thermometer to confirm the actual temperature inside.
Do I need a special tray for polymer clay baking?
You don’t need a special tray, but it helps to use a ceramic tile, parchment paper, or cardstock to avoid shiny bottoms and prevent direct heat from scorching the clay.
How long to bake polymer clay at 275 degrees?
At 275°F, bake polymer clay for 15–30 minutes per 1/4 inch of thickness, depending on the brand. Thicker pieces may need up to an hour.
Can I use the same toaster oven for food after baking clay?
It’s not recommended. Polymer clay can leave residue and fumes, so it’s best to use a dedicated toaster oven just for clay projects.
Final Thoughts
Yes, you can bake polymer clay in a toaster oven—and do it well. I’ve done it for years. With the right steps, it works like a charm. Always check the temperature with an oven thermometer. Use a tile or parchment on your tray. Bake a test bead first to be safe. Tent the top with foil if your clay is thin. Let it cool slowly in the oven. These small habits make a big difference. I also use a separate toaster oven just for clay. It keeps things clean and safe. Toaster ovens are easy, fast, and great for small batches. Once you learn the basics, it becomes second nature. Have a question or a tip to share? Leave a comment below—I’d love to hear your story!