

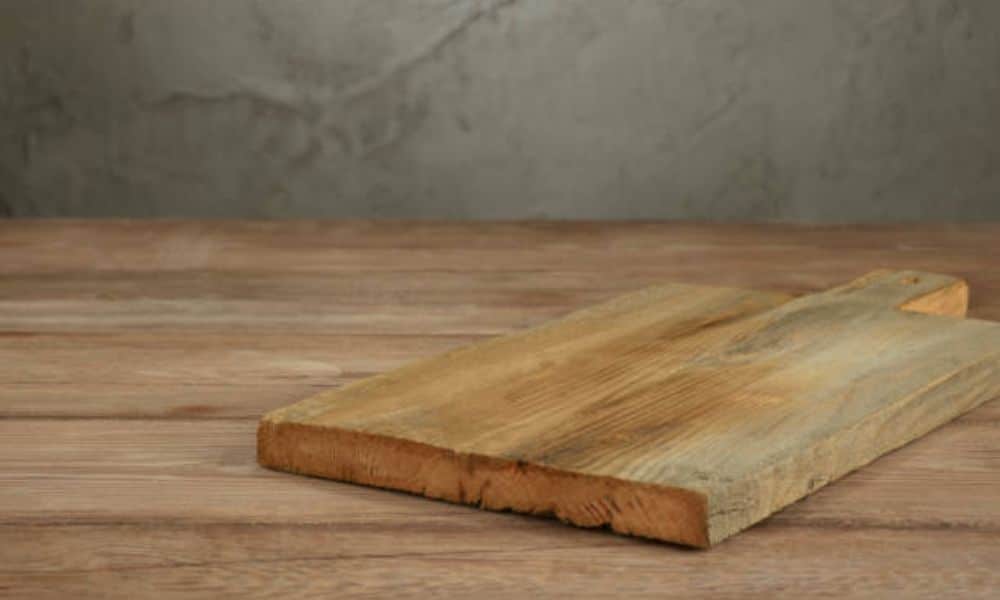
I still remember the first time I saw mold on my favourite wood cutting board. It was a bright Saturday morning. I had just sliced tomatoes for breakfast. As I rinsed the board, a dark spot caught my eye. Small but strange. I leaned in closer. It wasn’t a burn. It smelled off. That board had history. My kids’ lunches. Sunday dinners. So many meals. I couldn’t throw it out. That day, I learned something useful. Mold doesn’t mean the board is gone. With the right care, you can save it. Here’s how to get mold out of a wood cutting board.
Why Mold Happens
Let’s be clear—mold needs three things to grow: moisture, warmth, and time. Your wooden board is perfect for this. It’s often damp. It sits in a warm kitchen. And if not cleaned well, it hides food bits in tiny cracks. That’s why it’s important to act fast. The longer stays, the deeper it grows.
What You’ll Need
Before we jump in, here’s a short list of what I use:
- White vinegar
- Baking soda
- Hydrogen peroxide (3%)
- Lemon
- Coarse salt
- Scrub brush or sponge
- Paper towels or clean cloth
- A well-ventilated space or direct sunlight
All of these are safe. No harsh chemicals. No strong odors. And they work better than store-bought mold removers in my experience.
Step-by-Step Guide
Step 1: Take the Board Outside
Start in a spot with good airflow. Mold spores can travel, so fresh air helps. Sunlight also kills surface mold.
Don’t have outdoor space? Just open a window and turn on a fan. Lay your board on a flat surface—like a towel or baking tray. This method works for all boards, even your favorite one for smoked meats, like the Best Cutting Board For Brisket.
Step 2: Scrape the Surface
Use a metal scraper or the back of a knife. Gently remove the top layer. Don’t go too deep—you don’t want to gouge the wood. Wipe away the loose bits with a dry paper towel. This first step opens up the grain and makes the next steps more effective.
Step 3: Spray Vinegar Generously
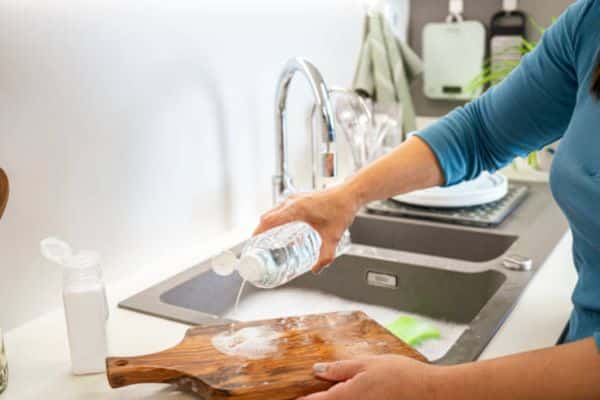
White vinegar is my go-to mold killer. It’s safe, cheap, and always in the pantry. Pour some into a spray bottle. Spray until the whole surface is wet but not dripping. Let it sit for 10–15 minutes. During this time, the vinegar breaks down cells. You might smell it—strong, but clean.
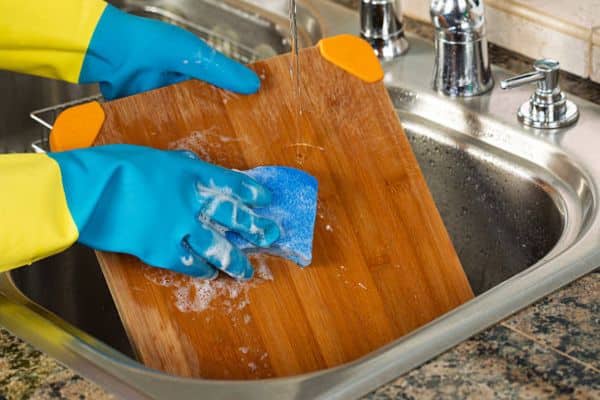
Step 4: Scrub With Baking Soda
Make a paste. Mix 1 tablespoon of baking soda with a few drops of water. Use a sponge or scrub brush to work the paste into the board. Scrub in circles. Pay close attention to the corners, cracks, and juice grooves. This step lifts deep dirt. The paste also absorbs odours. Wipe clean with a damp cloth.
Step 5: Spot Treat With Hydrogen Peroxide
For stubborn patches, dab 3% hydrogen peroxide onto a cotton pad and press it over the mould spot. Hold for about a minute. Peroxide kills below the surface. It also helps whiten stains. Don’t overdo it—too much can dry out wood. Wipe dry with a paper towel.
Step 6: Rinse With Lemon and Salt

Cut a lemon in half. Dip it in coarse salt. Scrub the whole board again. The lemon cuts grease and adds a fresh scent. The salt scrubs out leftovers. It also helps remove that gray tint mold can leave behind. Let the board sit for 5 minutes. Then wipe clean.
Step 7: Dry It Thoroughly
This step is critical. Mould loves moisture. Stand the board on its edge in the sun or under a fan. Let it dry for several hours. Do not lay it flat while drying—it may trap moisture underneath. The should feel bone-dry before storage.
Bonus Tips from My Own Kitchen
Over the years, I’ve learned some tricks that keep my cutting boards mould-free for the long haul.
Tip 1: Oil Regularly
Wood needs moisture—but the right kind. Every few weeks, rub with food-grade mineral oil. It fills the pores in the wood and creates a shield. Water can’t sneak in as easily, and mold stays out. Don’t use olive oil or coconut oil. They go rancid.
Tip 2: Never Soak in Water
This one is big. Don’t let sit in the sink. Water seeps in and stays trapped. Always wash it quickly and dry it right away. Just a few extra minutes of soaking can lead to days of drying.
Tip 3: Stand It Up
Store your board on its side, not flat. Air can circulate it better this way. I keep a small dish rack by the counter just . It works like magic.
Tip 4: Rotate Your Boards
If you use one board for everything, it wears out faster. I keep two cutting boards. One for veggies, one for meats. That way, each one gets a break. Less wear.
Tip 5: Use Vinegar Weekly
I wipe down my board with a vinegar-soaked paper towel once a week. Quick, easy, and it kills germs before they grow. It’s the simplest habit, and it works like a charm.
What to Avoid
Here’s what I stay far away from—learned the hard way.
- Bleach: Harsh and risky. It soaks into wood and leaves a smell.
- Dishwasher: Way too hot. It cracks the board and ruins the finish.
- Scented cleaners: Not food-safe. And they often mask mold rather than remove it.
- Letting it air dry face down: This traps water. Always dry it upright.
How to Know When It’s Time to Say Goodbye
Sometimes, even the best boards have to retire.
If stays musty even after cleaning
If deep cracks show dark spots again and again
If mould returns days after drying…
I had to say goodbye to one of my oldest last year. It hurt. But I replaced it with a new, thick maple one. And I treat it better now.
Final Thoughts
Getting mold out of a wood cutting board isn’t hard. It just takes care and consistency. You don’t need fancy products or harsh chemicals. Just simple tools, a little elbow grease, and love for your kitchen. Remember, is more than a slab of wood. It holds your food, your memories, and your daily life. Take care of it, and it’ll serve you well for years. So next time you see a mouldy patch, don’t panic.