

Messy counters drain kitchen joy fast. Mine once held a teetering stack of cutting boards. That pile stole prep room and looked plain sloppy. One calm Saturday, I grabbed a drill, two brass hooks, and a level. A quick mount turned wood clutter into wall art and fresh space. Friends soon asked how to hang cutting boards on wall with the same neat look. Read on, test these easy steps, and give your kitchen the glow it deserves. Years of DIY tasks taught me safe, renter-friendly tricks you can finish in under an hour. Your walls will thank you soon.
Choose Where to Hang Your Cutting Boards
Pick a drywall that’s easy to reach. Think of a space where your hands move without effort. That’s your spot. A clear area near your cutting zone works best.
Best spot? Near where you prep. It makes the board feel like part of your flow, not an extra step. No more opening drawers or digging behind the toaster.
Look for places like above the backsplash or beside the fridge. A wall by your prep counter keeps things close and tidy. Avoid spots that catch steam or splashes.
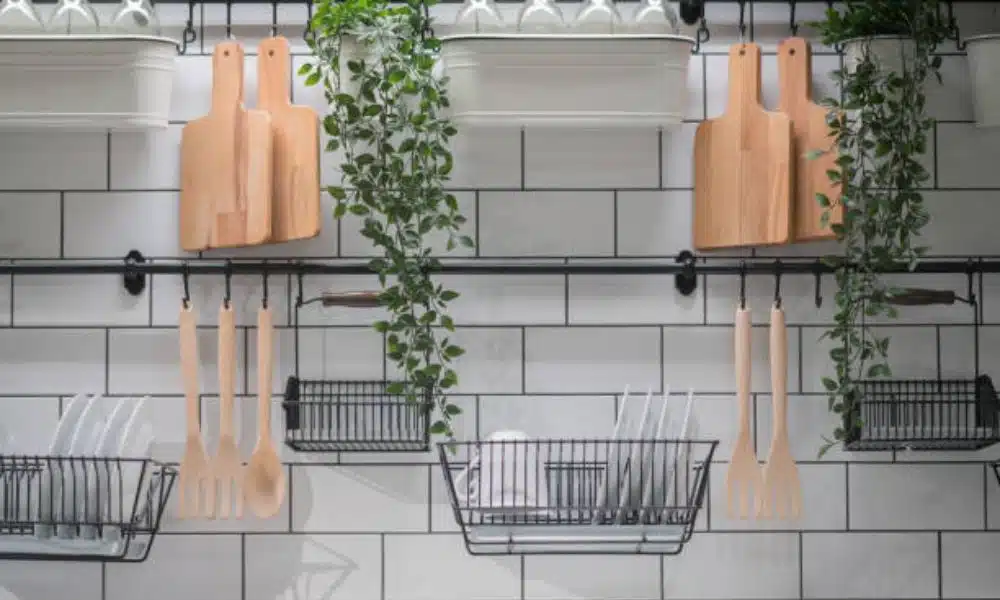
Even a small wall can shine. Hanging cutting boards there adds charm and saves room. One smart hook can turn a blank corner into a warm detail—style and function in one move. For example, if you’re displaying your kitchen essentials, choosing the best cutting board for brisket not only enhances the aesthetic but also ensures you’re always prepared for precision carving. Add it to your wall and turn utility into decor.
What You Need Before You Start
Getting set up is simple. Most items are tools you may already have. Here’s what you’ll need:
- Hooks
- A drill or screwdriver
- A level
- A pencil
- A measuring tape
That’s all it takes to do it right. Each piece helps you work fast and keep things neat.
Want extra ease? Try an adhesive hook or a hanging cutting board holder. These skip holes and still look great on the wall.
Step-by-Step: How to Hang Cutting Boards on Wall
Follow these five steps for a clean, secure setup. It’s fast, fun, and easy to do in one short afternoon.
Step 1: Clean and prep the wall
Wipe the area with a damp cloth. Dry it well. This helps hooks stick or mount tight.
Step 2: Choose your hanging method
Pick between wall hooks, rails, or a board holder. Go with tools that match your space and board weight.
Step 3: Measure and mark your spots
Use a pencil and tape measure. Mark where each hook or screw will go. Keep it even.
Step 4: Install hooks or holder
Drill into the wall or press on adhesive strips. Use a level to make sure it all lines up straight.
Step 5: Hang and adjust your boards
Place each board on its hook. Step back and check spacing. Adjust as needed for balance and style.
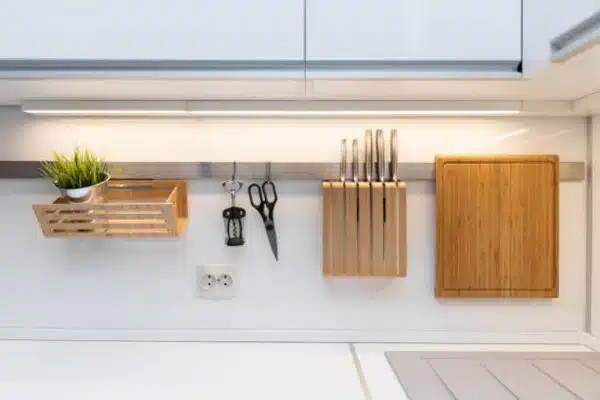
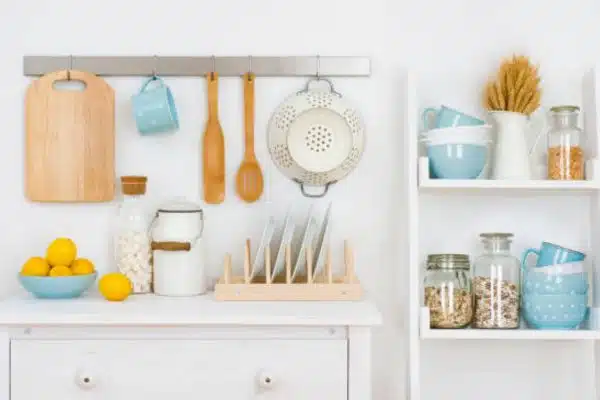
Best Hanging Methods for Every Kitchen
Different homes call for different setups. The best part? You can match your style and space with the right method.
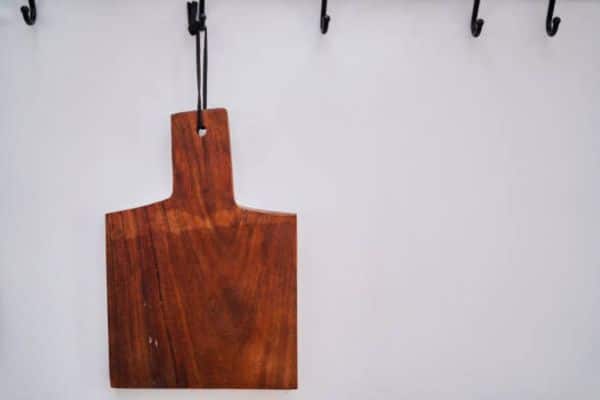
Hooks on the wall
These are strong and simple. Perfect for wooden boards. Just screw them in and hang. That’s it.
Peg rails or bars
Want to hang more than one? Try a peg rail. It keeps things tidy and looks clean on any wall.
Hanging cutting board holder
This is a great choice for small kitchens. It works well in modern spaces and keeps your boards in reach.
Adhesive strips
Renting? These are your best friend. No drill needed. Just press and hang.
Tips to Keep It Looking Good and Working Well

To keep your wall and boards in top shape, just follow a few easy habits.
Dry before you hang
Wet boards bend fast. Wipe them fully after each wash. Give them a minute to air dry.
Rotate your boards
Don’t hang the same one in the same spot all the time. Swap them now and then. This helps stop warping.
Wipe the wall often
Dust and splashes build up quick. A clean wall keeps your space fresh and your hooks strong.
Oil wooden boards once a month
Use food-safe mineral oil. Rub it in with a soft cloth. This keeps the board smooth and free of cracks.
Choosing the Right Boards to Hang
Not every board belongs on the wall. Some look great but don’t hold up. Others work well but lack charm.
Wood wins for style and strength
Maple, walnut, and acacia are top picks. They last long and age with grace. Their grain adds warmth to your wall.
Skip plastic and stained boards
Plastic may stain or warp. It’s better kept in a drawer. Stained boards draw eyes—but not in a good way.
Decor boards tell a story
Got a vintage find from a flea market? Or a handmade gift? Hang it. These boards add soul to your space.
Hang what you love to see and love to use. A board should feel right in your hands and look right on your wall.
Final Thoughts
Now you’ve got the steps, the tools, and the know-how. Hanging cutting boards isn’t just easy—it’s fun. A few small changes can turn your wall into a cosy, useful part of your kitchen.
Don’t wait for the “perfect time.” Try it today. One hook. One board. That’s all it takes to start.