

I still remember my first cutting board. It was thick, wooden, and full of charm. I bought it from a small roadside shop during a road trip. For a while, it looked perfect. Then black spots began to show. First near the edges, then across the centre. I scrubbed hard, but they stayed. I even stopped using it for a time. Later, after much trial and error, I found a way to bring it back. No harsh cleaners. No fancy tools. Just simple steps. Today, I’ll show you how to remove black stains from a cutting board in an easy, safe way.
What Causes Black Stains on Cutting Boards?
Before we jump into solutions, Let’s quickly understand the problem. Black stains usually come from mould, Mildew, Or food particles trapped in the wood or plastic. When moisture sits in those cracks and grooves, It gives bacteria the perfect place to grow. Over time, Those bacteria turn into visible dark patches, Especially on wooden boards.
What You’ll Need
Here are a few items I always keep in my kitchen for board maintenance:
- Baking soda
- White vinegar
- Lemon
- Coarse salt (like kosher salt)
- A soft scrub brush or sponge
- Hydrogen peroxide (3% solution)
- A clean cloth or paper towel
- Food-grade mineral oil (for finishing wood)
All of these are gentle, affordable, and kitchen-safe.
Step-by-Step: How to Remove Black Stains from Cutting Board
Step 1: Wash and Dry the Board
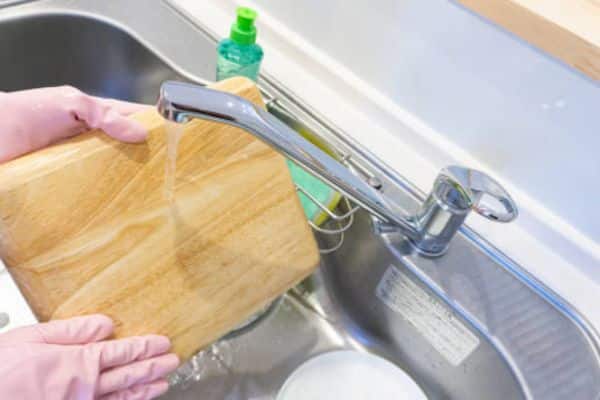
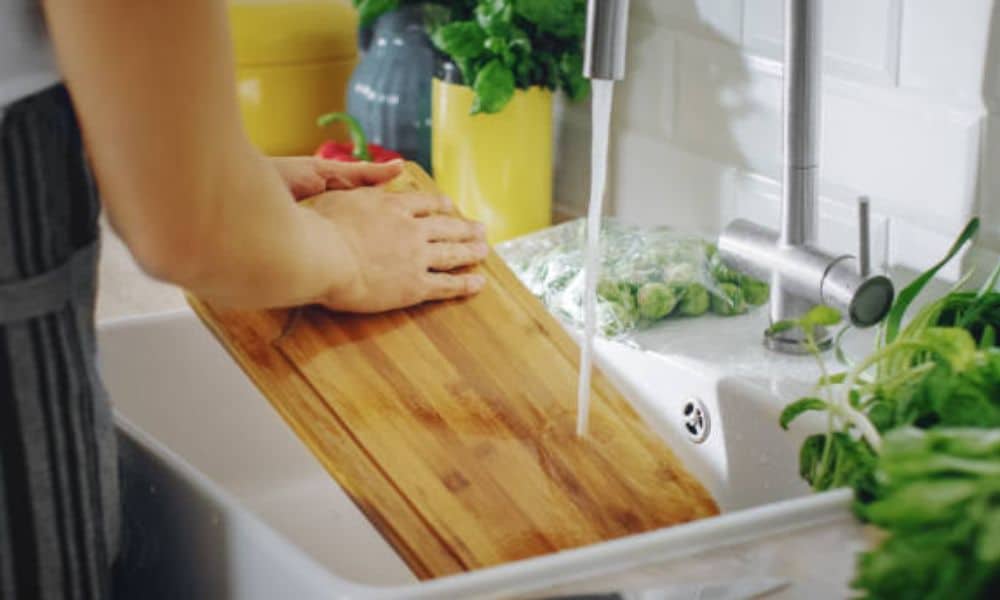
Start with a simple wash. Use warm water And mild dish soap. Scrub both sides with A sponge. Rinse well and dry with A towel.
Make sure the board is completely dry before going To the next step. I usually leave it standing upright For 30 minutes.
Step 2: Make a Cleaning Paste
In a small bowl, Mix equal parts baking soda, coarse salt, And water. You want A thick paste—like wet sand.
Why this mix works:
- Baking soda breaks down odors and stains
- Salt adds scrubbing power
- Water keeps it gentle on wood
Step 3: Scrub the Board
Spread the paste over the stained area. Use a soft brush or the rough side of A sponge to scrub in circles. Take your time here. I usually go For 2–3 minutes per stain.
Rinse it off with warm water. Sometimes, This step is enough to lift light stains. But for deep, stubborn black marks, move on to the next method.
Step 4: Lemon and Salt Scrub
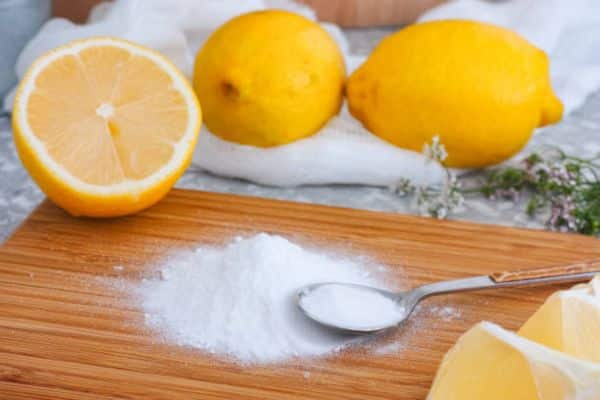
Cut a lemon in half. Sprinkle coarse salt directly onto the board. Use the lemon like a scrubber. Push it back and forth over the stains, squeezing a little juice out as you go. Lemon’s natural acid helps lift mold and bacteria. Salt adds friction And cleaning power. Let the juice sit on the board For 10 minutes. Then rinse And dry again.
Step 5: Hydrogen Peroxide Treatment
This one’s my secret weapon. Pour a small amount of 3% hydrogen peroxide directly onto the stains. Spread it with a clean paper towel. Let it sit for 5–10 minutes. You’ll often see bubbling as it lifts away grime.
Wipe with a clean, damp cloth and dry thoroughly. Peroxide not only removes black stains—it also kills the mould that causes them . Important: Never mix peroxide with vinegar. Use them separately and rinse well between steps.
Step 6: Dry Thoroughly
Once clean, prop the board up to dry completely. I place mine by a sunny window or near a fan. Moisture is the enemy. A dry board is a clean board—especially if you’re slicing something juicy like brisket. For that, I always recommend using the Best Cutting Board For Brisket to keep your meat prep smooth and your counters mess-free.
Step 7: Restore with Oil

After cleaning, your board might feel a little dry or dull. Rub in a few drops of food-grade mineral oil. Spread it with a clean cloth. Let it soak for 20 minutes, then wipe off any extra.
This keeps your board sealed, smooth, and protected from future stains. I do this once a month—even if there are no stains.
A Few Extra Tips That Helped Me Over the Years

Use Separate Boards
I keep one board for veggies and another for raw meat. This keeps bacteria from jumping from one surface to another—and helps your boards stay cleaner longer.
Clean Immediately After Use
Don’t let food sit. I clean my boards as soon as I’m done chopping. It takes two minutes and saves hours of scrubbing later.
Never Soak Wooden Boards
Wood absorbs water like a sponge. Soaking causes warping, cracking, and mold. Rinse and dry—don’t soak.
Sanitize Weekly
I do a lemon-and-salt scrub every Sunday. It’s my little kitchen ritual. Keeps everything fresh and adds a nice citrus smell.
Bonus: How to Keep the Perfect Texture in Cooked Rice
Now that we’re talking kitchen tips—can I share something else?
Because nothing beats that moment when your cutting board is clean, your space smells like lemon, and your rice turns out just right.
Rinse Until Water Runs Clear
This removes the surface starch that makes rice clump. I put the rice in a bowl and swish it with my hands. Drain and repeat 3–4 times.
Let It Soak
After rinsing, I let the rice soak in clean water for 15–30 minutes. This helps the grains cook evenly. No dry centers.
Use the Right Water Ratio
I use 1 cup of rice to 1.5 cups of water for white basmati. Brown rice requires a bit more. Too much water makes the rice mushy, while too little leaves it dry.
Cook Covered, Let It Rest
I bring the water to a boil, then lower the heat, cover the pot, and simmer for 12–15 minutes. Then I turn off the heat and let it sit—covered—for 10 more minutes. This resting time makes all the difference.
Final Thought
A cutting board isn’t just a tool—it’s the heart Of your prep space. It sees your best recipes, Your rushed breakfasts, your quiet late-night snacks. It deserves care.
Removing black stains from A cutting board might seem like A small thing, But it brings new life to your kitchen. It’s satisfying. It’s worth it. And once you’re done, Take a moment. Pour yourself some tea. Maybe fluff a bowl of rice.