


I used to own too many gadgets. A rice cooker. A pressure cooker. A slow cooker. My counter was crowded, and cleanup took forever. Then I learned how to use an Instant Pot as a slow cooker. One pot. Less mess. Same great meals. My beef stew came out rich and tender. The cleanup took five minutes. I was hooked. For small kitchens or solo meals, this trick saves time and space. It even rivals the best slow cookers for one person. In this guide, I’ll show you how to do it right, step by step. You’ll love the simplicity.
Can an Instant Pot Replace a Slow Cooker?
Many people ask this. And the answer? Yes—but not always.
They can slow cook. But it works a bit differently than a classic. A regular heats from the sides. The heat from the bottom. This changes how heat moves through your food.
In my kitchen tests, they took longer to reach that slow, steady simmer. It needed small tweaks to get the same results. But once you understand the settings, it does the job well.
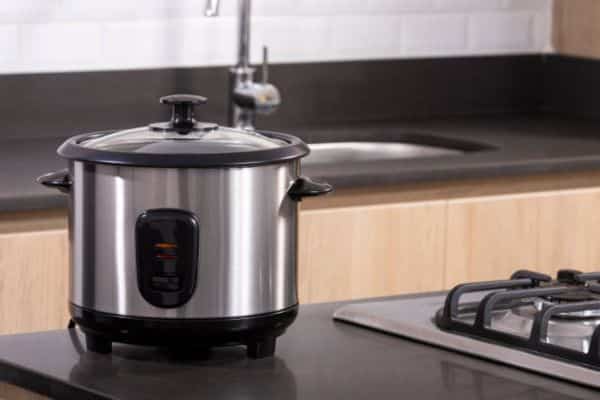
Still, there are times a basic is the better fit. For example, a solo cook who makes small meals often might prefer one of the best slow cookers for one person. They’re compact, simple, and plug-and-play.
Step-by-Step: How to Use an Instant Pot as a Slow Cooker
Learning how to use is easy once you know the basics. Just follow these steps.
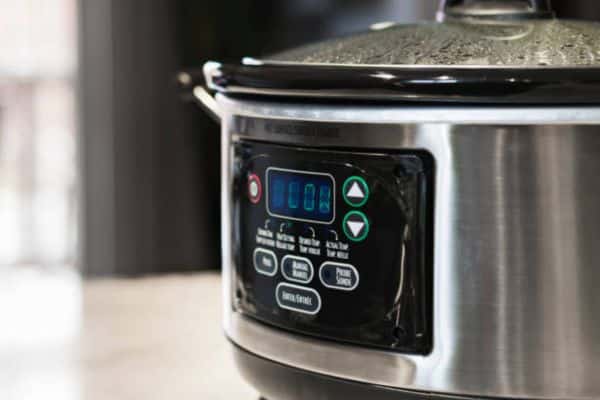
01. Plug in and press “Slow Cook”

Turn on your Instant Pot. Press the “Slow Cook” button on the front. The display will light up and show time and settings.
02. Set the heat level
You’ll see three options: “Less,” “Normal,” and “More.”
- “Less” is like low on.
- “Normal” is medium.
- “More” works like high heat.
For most meals, I use “Normal” or “More.” The food cooks through better and holds flavour.
03. Adjust the cook time
Use the plus and minus buttons to set your time. It starts right away—no waiting to build pressure. I usually set 6–8 hours for stews, 3–4 for chicken.
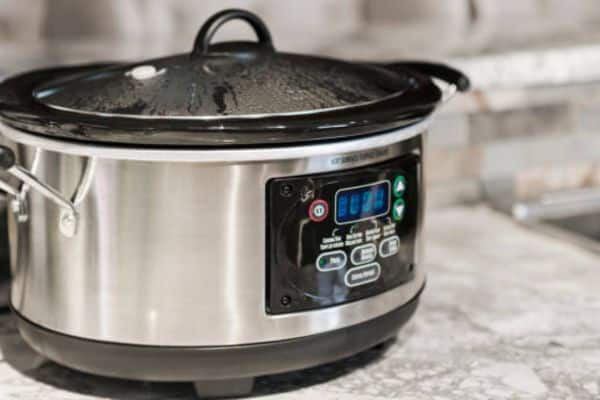
04. Use the right lid
Do not use the pressure lid. It traps steam and blocks airflow. Instead, use a glass lid or a silicone lid that fits. These lids let moisture escape, just like a real.
05. Add food and start cooking
Put your meat, broth, and veggies inside. Then close the lid. Make sure the valve is turned to “Venting,” or just leave it off.
06. Let it cook, then keep warm
Once the timer ends, your will switch to “Keep Warm” mode. That keeps food hot but not overdone. You can leave it there until ready to serve.
Understanding the Slow Cook Settings on Your Instant Pot
The Instant Pot has three heat levels on slow cook mode. They are called “Less,” “Normal,” and “More.” Each one works like a setting on a regular.
- Less is low and gentle. It’s good for soft foods like beans or lentils.
- Normal is like medium-low heat. Great for soups and stews.
- More works like high heat. It helps with big cuts of meat or faster meals.
In a classic slow cooker, you often get just two choices—low and high. The gives you more control, but it takes practice.
Choosing the right level makes a big difference. Too low, and the food may stay raw. Too high, and it may dry out. For most dishes, “Normal” is the sweet spot.
Choosing the Right Lid for Slow Cooking in an Instant Pot
To slow cook the right way, the lid matters. Many people make the mistake of using the pressure lid. But that lid traps steam and heat. It blocks airflow, and your food turns out soggy.
A glass lid is the better choice. It lets the steam rise and escape, just like a regular. This helps sauces thicken and meat stay juicy—not waterlogged.
You can find glass lids online or in kitchen stores. Look for one made by the same brand. It fits well and holds heat without sealing too tight.
I switched to a glass lid after one bad batch of chili. Never looked back. It’s a small upgrade that makes a big difference.
Common Mistakes to Avoid (From My Own Kitchen Fails)
Using the wrong lid
The pressure lid looks like it should work—but it doesn’t. It traps too much steam. Your food ends up wet and overcooked. A vented glass lid works much better. It lets heat flow the right way.
Adding too much liquid
I used to fill the pot like I did with my old. Big mistake. The seals in moisture. That means it doesn’t need as much broth. I now use about 25% less liquid, and my meals turn out thicker and richer.
Picking the wrong heat setting
I once left chili on “Less” for six hours. It barely cooked. On the other hand, setting “More” for a small dish can dry it out. Now I match the setting to the meal. Big cuts need “More.” Soups and beans do well on “Normal.”
Little changes like these saved my meals—and my time. Keep them in mind, and will only get better.
Best Meals to Try First in Slow Cook Mode
Soups are a great first choice. Toss in broth, chopped veggies, and your favorite spices. Let it simmer on “Normal” for a few hours. You’ll get warm, hearty bowls with zero stress.
Shredded chicken is another winner. Add chicken thighs, garlic, and a bit of sauce. Cook on “More” for four hours. The meat comes out juicy and falls apart with a fork.
Stews teach you how to balance liquids. A few chunks of beef, potatoes, carrots, and stock—slow-cooked on “Normal”—will give you that classic comfort meal.
Tips for Perfect Results Every Time
Once you know the basics, these small tips can take from good to great. They’ve helped me avoid soggy stews and dry meats more times than I can count.
Stir now and then
Give your dish a light stir every few hours. It helps flavors blend and prevents food from sticking to the bottom.
Use a meat thermometer
Guesswork ruins meals. A quick check with a thermometer keeps meat juicy and safe. For most dishes, aim for 165°F in the center.
Hold off on the dairy
Add milk, cream, or cheese at the very end. Slow heat can make them break or curdle. A late stir keeps sauces smooth and rich.
Try a foil sling
For heavy cuts like roasts, lay foil under the meat before cooking. Once done, lift both ends of the foil. It saves your wrists and keeps the roast whole.
Final Thoughts
At first, I had doubts. I wasn’t sure the Instant Pot could match my old. But over time, it proved itself. Yes—you can get real slow cooker results. You just need to learn how to use it right. It’s fast, flexible, and saves space.
You’ve now seen how to use, step by step. Try a few meals. Adjust as you go. Every dish teaches you something new. I’ve made cozy soups, tender meats, and perfect stews—all in one pot. Now it’s your turn. You’ve got this.