

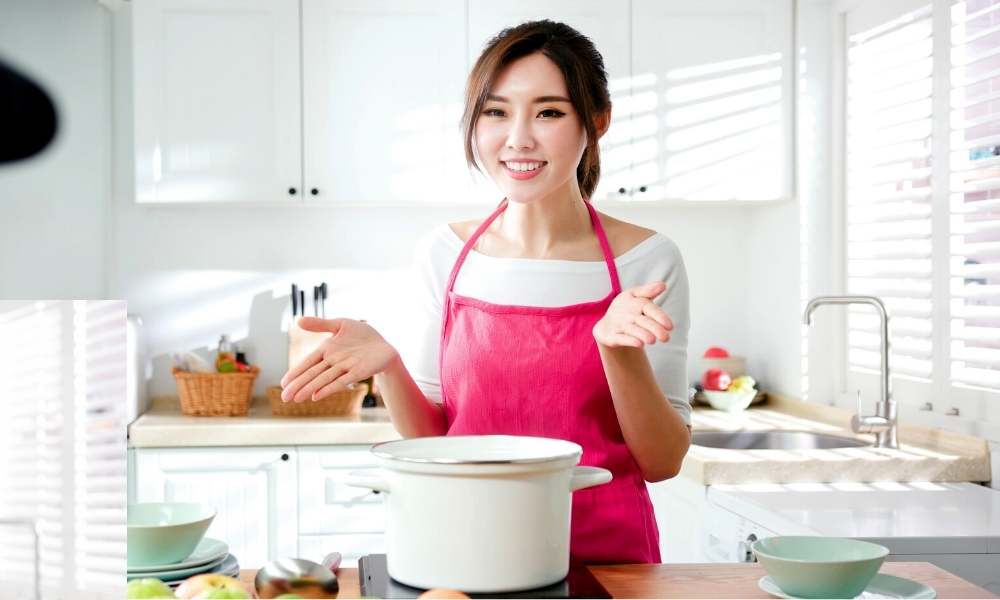
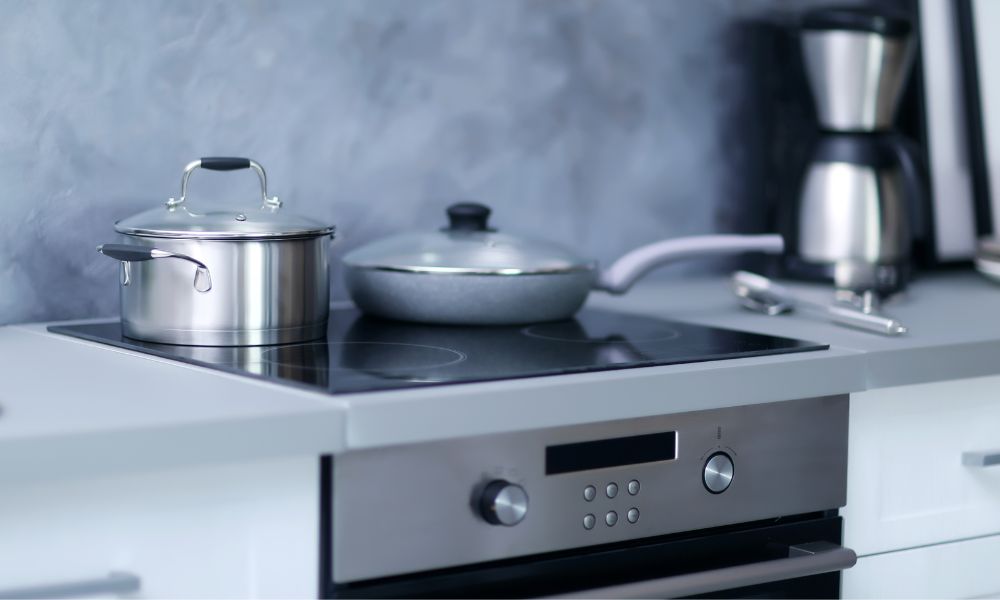
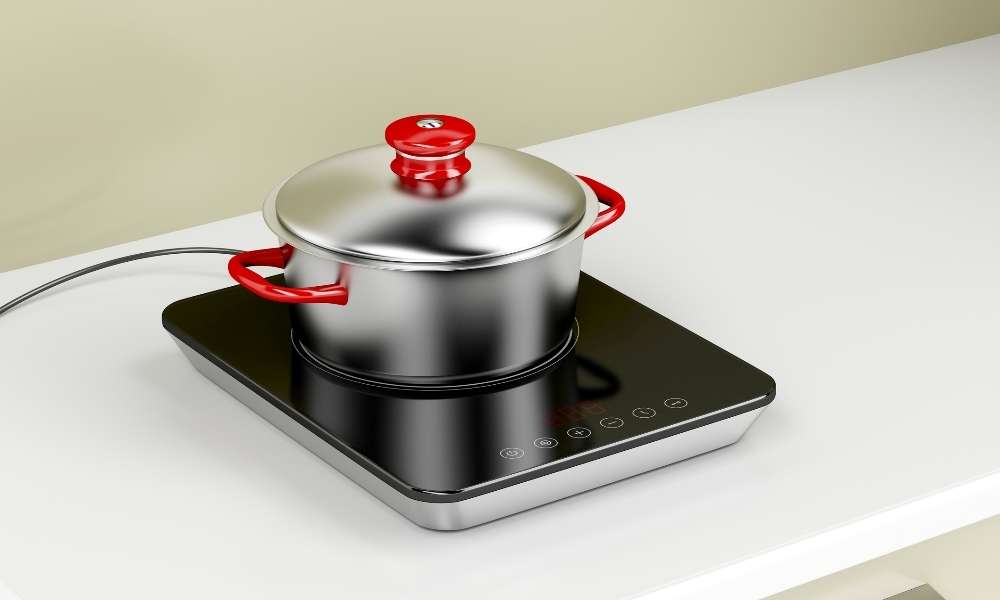
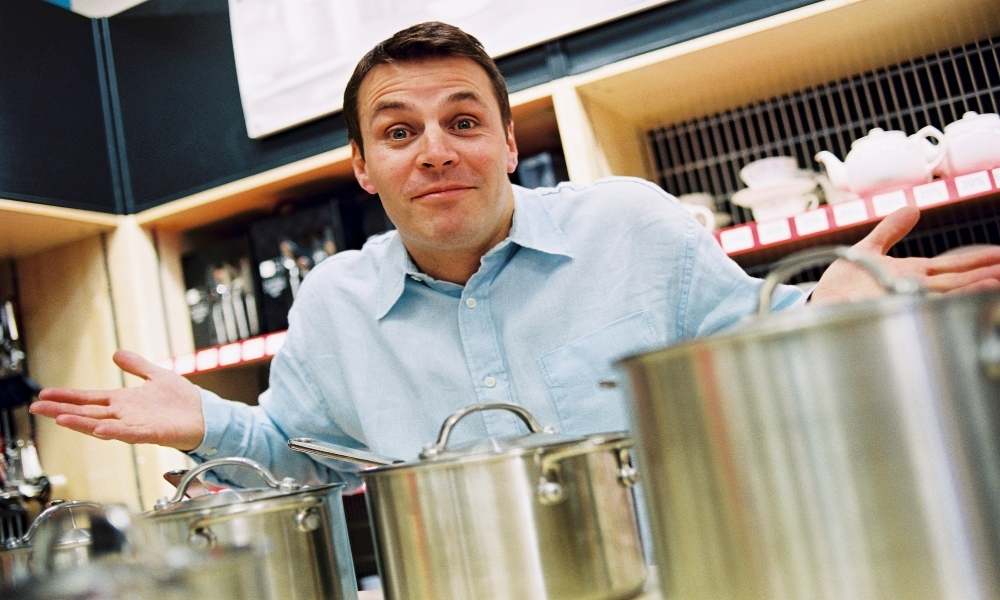
Waterless cookware works best when used on the stove. It is designed to handle high temperatures, which means you should avoid placing any metal pans or dishes directly on the bottom burner of the stove. As long as you follow these rules, Though, You should know How to use waterless cookware in order to get the results you want from these pans And dishes.
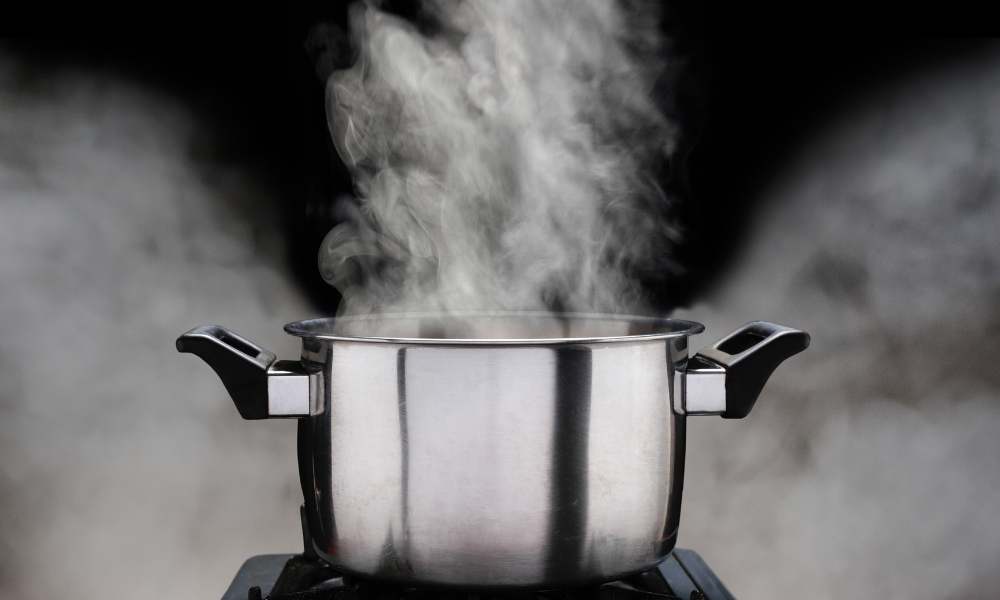
Anhydrous cooking is A technique in which food is cooked without using Any liquid. Water-Free methods Are considered healthier than traditional methods because they reduce the amount Of oil And grease involved. Waterless cooking uses steam instead of hot liquid to cook food. There are two types of waterless cooking techniques – wet and dry.
There are many advantages to choosing a waterless method. First, it reduces the need for oil and grease in food preparation. Secondly, It saves time And energy. Thirdly, it creates less mess and is easier to maintain cleanliness. There are various reasons why people choose this technique. People who tend to avoid processed foods often favor water-free cooking because of its simplicity.
What is Waterless Cooking?
Waterless cooking is A term that refers to the use Of pottery kilns And clay pots to cook food Without using water. When preparing traditional Indian dishes, especially those that have been passed down for generations, the food is often cooked in clay pots called kalijas. These pots are fired inside a special pottery kiln or tandoor (depending on the region) at temperatures between 700-1200 degrees Fahrenheit. As the temperature rises, The various compounds Break down into gasses including carbon dioxide And steam, Resulting in the release of smoke. The vapor is then released into the atmosphere, which eventually helps form clouds.
The result is A delicious meal that nourishes the body And uplifts the soul. In ancient times, people cooked food in these earthen pots over open fire. To keep the fire concentrated in the pot, they placed the pot directly over the coals rather than on the grate. As the food cooks, steam condenses around it, effectively insulating it from the outside air, preventing the food from drying out. Because of this, foods cooked in clay pots tend to be moist and flavorful.
You Have To Follow Step By Step To Use Waterless Cookware Sets
Step 1. Read The Manufacturer’s Instructions Before Using Carefully
1. Waterless cookware is great for those who don’t have access to running water. Not only can they save money, But they are better for the environment because they use fewer natural resources than regular containers.
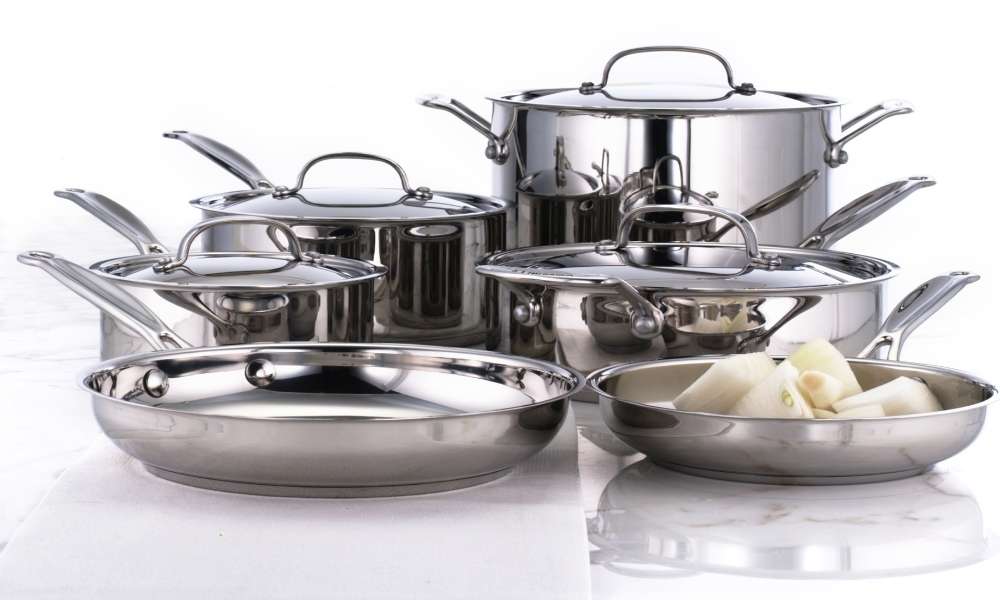
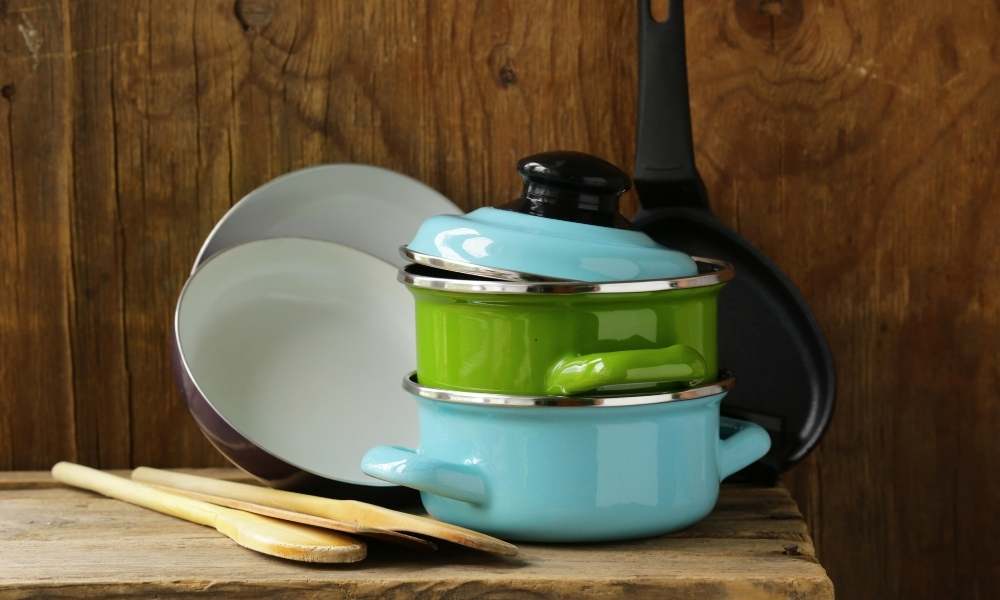
2. There are a variety of colors, Sizes, Shapes And materials (such as aluminum, Stainless steel, Ceramic And glass) that are suitable for different types of cookware.
3. Besides being lightweight, These containers Are highly durable And will not break Even after repeated use.
4. Since they do not use Any liquid, They are safe to use on stoves, Griddles and campfires.
5. These containers are Also dishwasher safe if you want to clean them regularly.
6. These products have nonstick surfaces that do not react with food toxins, making cleaning easier than normal cookware.
7. Nonstick spray: This type of cooking spray contains chemicals called fluorocarbons that help prevent sticking, instead of relying on a coating that wears off over time. You can choose between different brands of these sprays, including silicone-based sprays, vegetable oil-based sprays, and mineral oil-based sprays.
8. Aluminum foil: This product not only helps prevent frying, but is also suitable for steaming, baking, roasting and broiling. Unlike aluminum foil, parchment paper will not cause a chemical reaction with your food.
9. Glass and Ceramic Utensils: Like glass bakeware and cookware, they are safe to use on any stove top and in the oven.
Step 2. Fill Your Pot With Water

You don’t have to worry about wasting water while cooking. Because these pots don’t require it! These containers are specially designed to ensure that they keep moisture inside them without letting it out.
These pots are perfect for people looking for low-liquid use cookware options. You just need to fill them with it and place them on the stove. If the pot becomes dry, add some more water and heat again. The best part about these is that they are dishwasher safe.
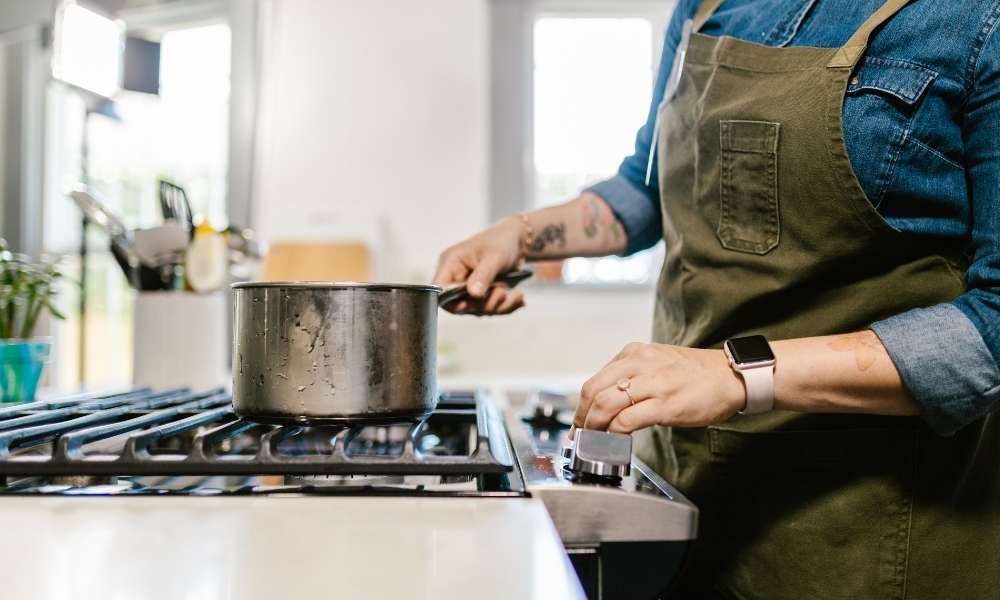
Step 3. Place Pot And Use Stove Or Oven
People who are using their pots to cook their food on an open fire (stove) may not realize how much damage it can do to their kitchen utensils. Heat not only creates cracks and holes in dishes and pans but also damages the enamel coating on them.
These enamels help protect the pan or pot from rusting and can last for many years if left intact. If you notice any damage, simply wash it with warm, soapy water. After washing, place on the stovetop or in the oven to dry. As long as the pots don’t touch each other, this should prevent further damage.
Using a stove produces drier, lighter ingredients than cooking directly over hot coals. If you prefer to avoid using traditional pots and pans, waterless cookware is perfect for a stovetop.
Step 4. Set Your Temperature Control
When you are cooking food, or heating something on the stove, you want to reach the ideal temperature as quickly as possible. To get the right degree, you need to have a good idea of how hot things should be. When you are using waterless cookware, the difference between the actual degree and the ideal temperature can be quite different. Using a thermometer will help you keep track of your warmth and determine how long you should wait before switching to a hot setting.
Make sure to switch off the flame and clean your stove completely. Once you’ve cleaned everything, turn off the burner and then open the oven vents. You should be able to hear air coming out of this vent. By doing this, you are essentially opening up the stove’s exhaust system to allow more room for fresh air to enter the stove’s interior. When you’re done cleaning, close the chimney and turn the burner back on. Now, you are ready to start cooking!
Waterless cookware helps aeration because they do not contain water Therefore, instead of steam forming around the stove, only hot air is formed. So, if you have a proper ventilation setup, you will never have to worry about itching or burning while using a waterless cooker.
Step 5. Start Process To Use Waterless Cookware

Cooking with dry ingredients requires less active management than with moist ingredients. Therefore, if you have been using cookware that is not compatible with wet- techniques, you may want to consider switching to a proper set of pots and pans.It can accommodate both types of torsion methods.
To start the torsion process; Add water to the pot/pan you want to cook in. Stir the water until some bubbles form at the bottom of the pan. Place the pan inside the oven and let it sit for 5-10 minutes. After 10 minutes, close the door and set the timer for 1 hour. Let the food soak in hot steam for 1 hour while you are at work.
Step 6. Clean Up After Yourself

To prevent mold from forming on your cookware, try cleaning in vinegar instead of water. Vinegar is acidic and should kill any bacteria. Be sure to scrub your pots and pans thoroughly before drying them. If you are going to use them soon, it is okay to dry them in direct sunlight. However, if they are stored for more than 2 weeks, you should refrigerate them overnight to speed up the process.
For a good cleaning solution, mix one cup of baking soda with one cup of white vinegar. Clean each piece individually and let sit for a few minutes. Remove excess liquid with paper towels and wipe with a damp cloth. Your pots and pans will sparkle again!
Dry the washed utensils properly before putting them away. Don’t let them sit for hours until they dry naturally. You should put them back in the storage spot while still wet.
Step 7. Store Leftover Food Safely
It is safe to store leftovers in the refrigerator until it goes bad. However, if you want to warehouse that food without using potable water, there are some options. You can freeze it in an ice cube tray, transfer it to a sealable bag, put it in a mason jar, or even put it in a Tupperware container in the freezer. If you plan to depot food this way, make sure they are airtight to reduce the amount of oxygen inside. This will help prevent the food from spoiling quickly.
Step 8. Reheat Leftover Foods Safely
Leftovers should not be reheated over high heat, unless they are properly cooked first. While it may seem convenient to do so for certain foods, overheating can result in loss of nutritional value and even the potential for foodborne illness.
Step 9. Know When Your Pot Needs Replenishing
When you notice that the water content inside your pot starts to drop below 20%, it’s time to start thinking about your next pot. If you only use pure water, you should plan on getting a new pot at least once per season. By using distilled water, you will extend the life of your current container. If you live in an extreme climate where temperatures fluctuate throughout the year, you may need to change pots more frequently.
Step 10. Keep Your Pot Clean
1. Grease splatter
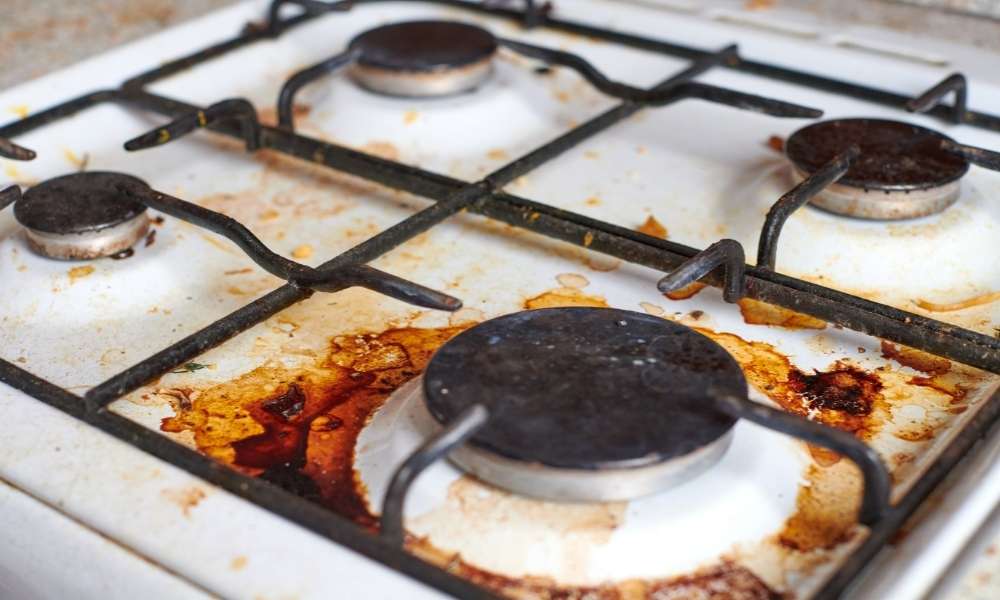
Grease splatters are pretty much inevitable when cooking with a non-stick pan. In fact, they’ll probably end up on your stove if you’re not careful to avoid them! That’s why to be sure to always clean your stove top after using any type of pan — including your waterless cookware.
2. Food scraps
Anytime you use wet hands to handle food, you run the risk of getting some sort of greasy residue on your hands.You won’t necessarily notice these small spots later. So try rubbing some soap on your palms before washing the pans. Of course, don’t forget to wash your container before use.
3. Spillage
Spillage happens when you accidentally spill something acidic — like lemon juice or tomato sauce — into your pot or pan. To remove them, either soak the stain in warm water overnight or add baking soda to the container you soaked the stained area in and stir well. Then wash the area thoroughly to use waterless cookware.
4. Cooking fat
Although non-stick surfaces reduce friction when removing food from pots and pans, the grease that sticks remains, especially when you reheat food on the burner. Make sure you clean your pots and pans regularly to prevent them from building up.
5. Frying fatty foods
Never wash frying pans or woks. Lightly grease with oil instead. When they are hot, run cold water over the handles until they are really warm.
Step 11. Check Your Pot Frequently
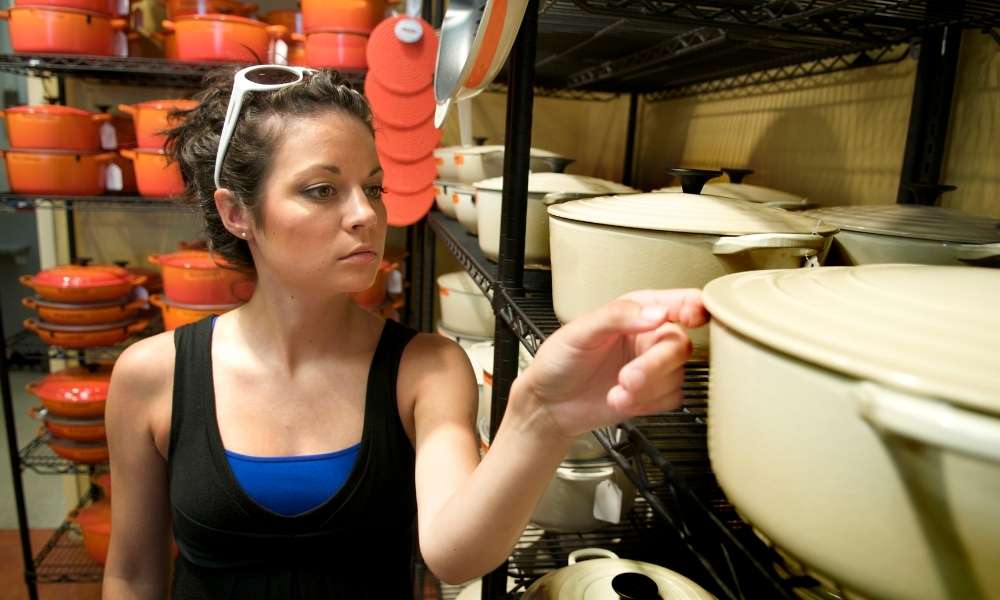
It’s time to start testing your waterless cookware. I’m going to take a look at some of the top brands of pots and pans and give my opinion. All these products are chosen for their ease of use for beginners and their durability. I have personally tested various pots and pans from my own personal collection at my neighborhood kitchen store and online. Many times we are told that our pots and pans are “good enough.” So, we don’t really spend money on upgrades until something breaks. However, if you want to start cooking with waterless technology right away, I recommend spending a little extra cash to buy high-quality equipment.
Step 12. Consider Using Multiple Pots
If you want to save money and time on cooking, consider using multiple pots instead of one large pot. You can do this with any type of cookware, including stainless steel, enameled cast iron, copper cloth, glass, ceramic, etc… The idea behind using multiple small pots is to fill each pot with enough food for several meals. Then, if you need to cook, put the appropriate amount of food in the container you want to eat. When one pot is cooked the others can still be warm and delicious! Another advantage of using multiple containers is that if you only want certain pieces of food, you can easily remove them from their respective containers without dirtying anything else.
Step 13. Avoid Overcooking
There are two ways to tell if your pot is cooked properly. First check how thick your food is, as thicker foods take longer to cook. Second, check the temperature of your pot using a digital thermometer. If your device falls between 160°F – 180°F, you have achieved the correct temperature If it falls below 150°F or above 190°F, you will need to adjust the heat accordingly until your pot reaches the desired temperature.
To avoid burning meat, vegetables, or grains, make sure they don’t get hotter than 175°F. These include steaming, baking, roasting and grilling. However, some foods should be slightly hot, including fish, shellfish, poultry, eggs and meat. Because these items cook quickly—especially when grilled—they should be cooked to 165°F.
Why waterless?
Waterless cookware is a vessel that does not require any liquid to cook food. Instead t,hey rely on the steam created by heating the pot. These pots are great for cooking because of their safety features and efficiency. Cooking without any liquid reduces the chances of contamination and burns. Waterless vessels have existed since ancient times; However, they were not commonly seen until the 1990s. Nowadays they are becoming more popular than ever. More people are using them than ever before and they are becoming more affordable.
The Benefits of Using it
1.No harmful chemicals
Many plastic cookware products use harmful chemicals that enter our food and environment. Waterless cookware contains no toxins, making them safer than traditional alternatives.
2. Environmentally friendly
3. Cooking in waterless cookware reduces waste, as there is less to clean up afterward. In addition, the use of this type of cookware helps to reduce the consumption of oil, gas, and electricity, which reduces the adverse effects on the Earth’s climate.
4. Improved food quality
Cooking with it makes healthy food. When you prepare homemade food, you control the ingredients’ quality, which equals a healthy meal. Cooking food at home guarantees freshness and taste.
5. Easy cleanup
You don’t have to worry about cleanup when cooking with waterless cookware. Because the surface is nonstick, you simply wipe the pot and that’s it!
6. More space
Waterless cookware doesn’t take up nearly as much space as regular cookware – you just need enough space for your pans and nothing else, so no counter space is wasted and extra pieces don’t need to be stored away.
7. Lose weight
There are two specific reasons you might want to switch to waterless cookware. One reason is that it’s healthier for you. The second reason is that it can potentially help you lose weight!
8. Save electricity
Since these pots don’t require much heating, you won’t use as much electricity when cooking or boiling. If you decide to use an induction stovetop, you will get even lower electricity consumption.
9. Stays Cooler
If you’re cooking something really hot, having a cool pan will keep your food hotter longer than if you were using a regular frying pan.
Conclusion
A waterless cooker is basically a pot that heats food without boiling it. To function properly, a waterless cooker needs two things. First, it needs to have a solid base, such as ceramic or glass. Second, it must be able to conduct electricity. Most waterless cookers are equipped with a heating element that uses induction technology. To top off the induction feature, they may also have a timer.
It may seem complicated to use at first, but once you start using it, you’ll wonder why anyone would think of cooking anything else. This post is amazing! You don’t need any special skills to operate them, they are very easy to clean and maintain. And they have many uses beyond just cooking.
With proper planning and preparation, making meals with a good waterless cooker can be fun and rewarding. Hope you understand how to use waterless cookware. The only downside is that it may take a little practice before you perfect its use.