

How to clean burnt baking tray stains is a common problem in many kitchens. Burnt grease, black marks, and baked-on food can make baking trays look old and dirty very quickly. Regular washing often fails to remove the stubborn buildup completely. The good news is that simple household ingredients like baking soda, vinegar, lemon, and hot water can help restore heavily stained trays. With the right cleaning methods and a little patience, most burnt baking trays can become much cleaner and easier to use again.
Why Baking Trays Get Burnt So Easily
Baking trays face very high heat during cooking. Oils, grease, cheese, sugar, and sauces slowly bake into the metal surface over time. Each cooking session adds another thin layer of residue. After weeks or months, the tray starts turning brown or black.
Non-stick trays can also develop burnt marks. Even good-quality trays collect grease around the edges and corners. Dark stains often become harder to remove after repeated heating cycles.
Cheap trays may burn faster because thin metal heats unevenly. Heavy-duty trays usually resist warping and burning better.
Start With Hot Soapy Water
The easiest cleaning method should always come first. Hot water and dish soap help soften baked grease before stronger cleaners are used.
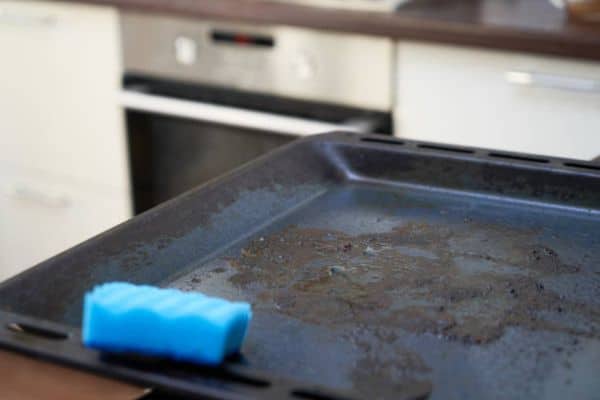
Fill the sink with very hot water. Add a generous amount of dish soap. Place the burnt baking tray into the water and leave it for at least 30 minutes.
After soaking, use a soft sponge or non-scratch scrubber to remove loose dirt. Some burnt grease may already come away easily. Deep stains may still remain, but soaking makes later cleaning much easier.
Very hot water works better than warm water because grease softens faster under heat.
Use Baking Soda And Vinegar
Baking soda remains one of the best natural cleaners for burnt trays. It breaks down grease while helping lift stubborn stains.
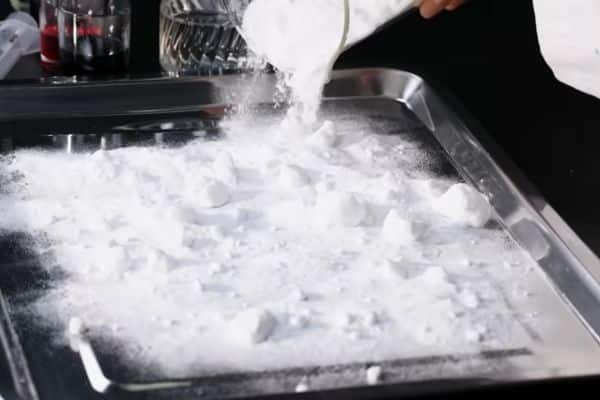
Sprinkle a thick layer of baking soda across the tray surface. Add white vinegar slowly over the powder. The bubbling reaction helps loosen burnt residue.
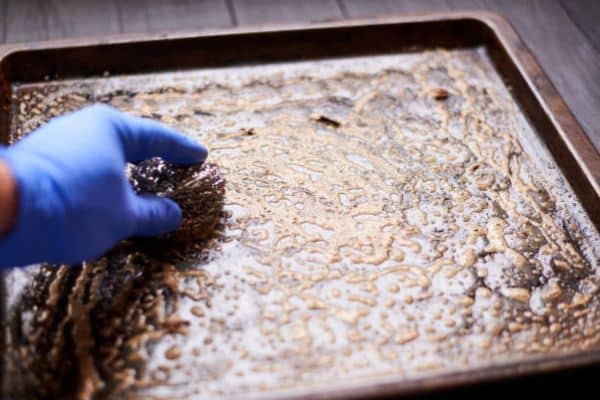
Leave the mixture on the tray for 20 to 30 minutes. Use a sponge or scrubber afterward. Most brown stains usually begin lifting during scrubbing.
For heavily burnt trays, repeat the process a second time. Older stains sometimes need several cleaning rounds before fading fully.
This method works well because baking soda acts as a gentle abrasive without damaging most tray surfaces.
Try A Baking Soda Paste
Some burnt stains become too stubborn for liquid cleaning. A thick baking soda paste often works better in these situations.
Mix baking soda with a small amount of water until a thick paste forms. Spread the paste across burnt sections of the tray. Make sure the dark areas are fully covered.
Leave the paste overnight for stronger results. The longer contact time helps soften carbon buildup.
The next day, scrub gently with a sponge or nylon brush. Many burnt marks should loosen more easily.
Avoid steel wool on non-stick trays because rough scrubbing can scratch the coating permanently.
Lemon And Salt Cleaning Method
Lemon naturally cuts through grease and leaves a fresh smell behind. Salt adds mild scrubbing power for removing burnt residue.
Cut a lemon in half and squeeze juice directly onto the tray. Sprinkle salt over the wet surface. Rub the lemon across the tray while pressing lightly.
This method works best on light to medium stains. It may not fully clean very dark burnt buildup, but it helps freshen older trays and reduce discoloration.
Many people prefer this method because it avoids strong chemicals inside the kitchen.
Use Hydrogen Peroxide For Tough Burn Marks

Hydrogen peroxide can help remove serious burnt grease buildup. Combine it with baking soda for stronger cleaning power.
Cover the tray with baking soda first. Pour hydrogen peroxide slowly across the surface until the powder becomes damp.
Leave the mixture for several hours. Scrub afterward using a soft cleaning pad.
This method often works well on aluminum trays with heavy brown staining. Older trays sometimes show major improvement after one treatment.
Wear gloves during cleaning because hydrogen peroxide may irritate sensitive skin.
Boiling Water Method
Heat can help loosen burnt residue faster. Boiling water works surprisingly well for trays with hardened grease.
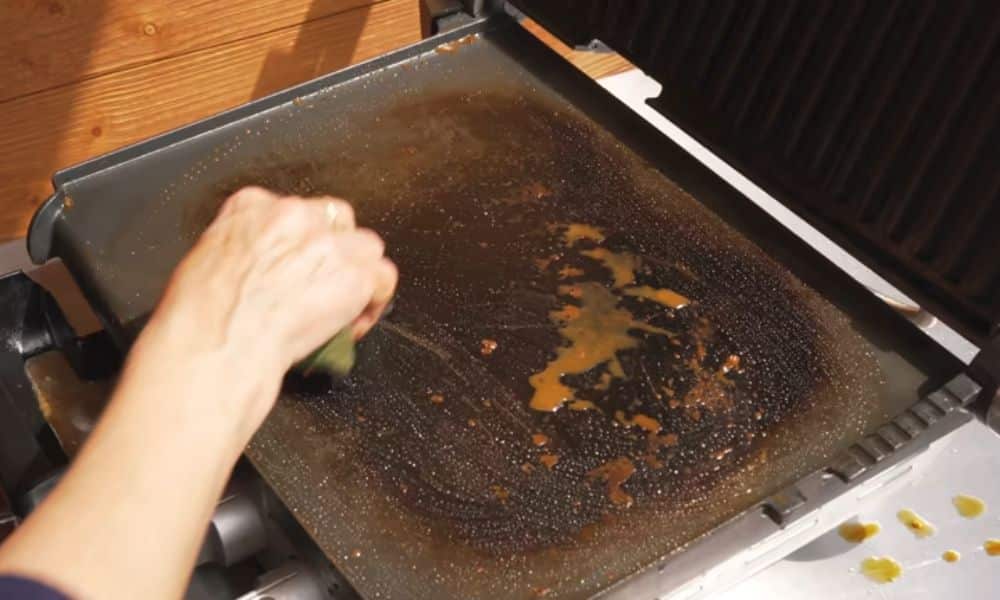
Place the tray carefully inside a large sink or bathtub area. Pour boiling water across the burnt sections. Add dish soap immediately afterward.
The sudden heat helps soften baked grease layers. Scrub while the tray remains warm for better results.
This method should not be used on trays with weak non-stick coatings because extreme temperature changes may damage the surface.
How To Clean Non-Stick Baking Trays Safely
Non-stick trays need extra care during cleaning. Rough tools and harsh chemicals may damage the coating permanently.
Always avoid:
- Steel wool
- Metal scrapers
- Sharp knives
- Very aggressive cleaners
Soft sponges work best for protecting the surface. Baking soda remains one of the safest options for non-stick trays.
Warm water soaking should become part of regular maintenance. Quick cleaning after cooking prevents grease from becoming heavily burnt later.
Many non-stick trays fail early because people scrub them too aggressively.
Cleaning Aluminum Baking Trays
Aluminum trays are popular because they heat evenly and bake food well. Unfortunately, they also stain easily.
Avoid bleach-based cleaners on aluminum because discoloration may occur. Baking soda, vinegar, and lemon usually work much better.
Hydrogen peroxide cleaning methods often show excellent results on aluminum trays with deep brown marks.
Some aluminum trays never return to their original silver appearance. Slight discoloration is normal after years of baking.
Commercial Oven Cleaners
Some burnt trays become impossible to clean naturally. Commercial oven cleaners may help remove extreme buildup.
Always follow safety instructions carefully. Wear gloves and use good ventilation during cleaning.
Spray cleaners onto the tray and allow them to sit for the recommended time. Scrub gently afterward.
Strong chemical cleaners should not touch food surfaces without thorough rinsing afterward.
Commercial cleaners work quickly, but many people prefer natural cleaning first because the chemicals can smell very strong. Choosing the right tray material also affects cleaning and durability. Read this guide on Aluminium Vs Stainless Steel Baking Tray to compare heat performance, maintenance, and long-term baking results.
Dishwasher Cleaning Tips
Some baking trays are dishwasher safe, but dishwashers rarely remove heavy burnt buildup completely.
Dishwashers work best for regular maintenance cleaning rather than deep restoration.
Before placing trays inside the dishwasher:
- Remove loose grease first
- Soak stubborn stains
- Avoid overcrowding
Repeated dishwasher use may dull non-stick coatings over time. Hand washing usually helps trays last longer.
How To Prevent Burnt Baking Trays
Cleaning becomes much easier once buildup prevention starts. Small habits can keep trays cleaner for longer periods.
Use parchment paper during baking whenever possible. It prevents grease and food from sticking directly onto the tray.
Avoid overheating oils because burnt oil creates thick dark stains very quickly.
Clean trays soon after cooking instead of leaving grease overnight. Fresh grease removes much easier than hardened buildup.
Regular maintenance prevents trays from reaching the heavily burnt stage.
Best Tools For Cleaning Baking Trays
The right tools help remove stains without damaging tray surfaces.
Useful cleaning tools include:
- Nylon scrubbers
- Microfiber cloths
- Soft sponges
- Silicone scrub pads
- Plastic scrapers
Avoid harsh metal tools unless cleaning unfinished stainless steel trays.
Gentle cleaning often works better over time than aggressive scrubbing.
Signs A Baking Tray Should Be Replaced
Some trays eventually become too damaged for safe use. Deep warping, peeling coatings, and rust can create cooking problems.
Replace trays that show:
- Flaking non-stick coating
- Severe rust
- Sharp warped edges
- Deep cracks
- Permanent sticky residue
A stained tray may still work perfectly fine, but damaged coatings can affect cooking safety and food quality.
Natural Cleaning Usually Works Best
Most burnt baking trays can be restored without expensive products. Baking soda, vinegar, lemon, and hot water handle many common stains effectively.
Patience matters more than aggressive scrubbing. Soaking and repeated gentle cleaning often produce better results than harsh scraping.
Keeping trays clean after every use also reduces future buildup and extends the lifespan of baking equipment.
With regular care, even heavily burnt baking trays can stay usable for many more years.
Conclusion
Learning how to clean burnt baking tray surfaces properly can help extend the life of baking equipment and keep the kitchen looking cleaner. Simple methods like baking soda soaking, vinegar cleaning, lemon scrubbing, and gentle maintenance can remove most stubborn stains without damaging the tray. Regular cleaning after cooking also prevents grease buildup from becoming difficult to remove later. With consistent care and the right cleaning approach, even badly burnt baking trays can stay in good condition for years.